Composing a scene
Goal
Build a scene out of parts you move, turn, flip and copy, rather than draw where they stand. You'll take a tray of parts, a pine, a dead tree and a two-peaked ridge, drawn on a layer of their own over a moonlit lake, and set them into a night scene, 60 columns by 20 rows, with the Select tool and the paste modes. Shown at 2×:
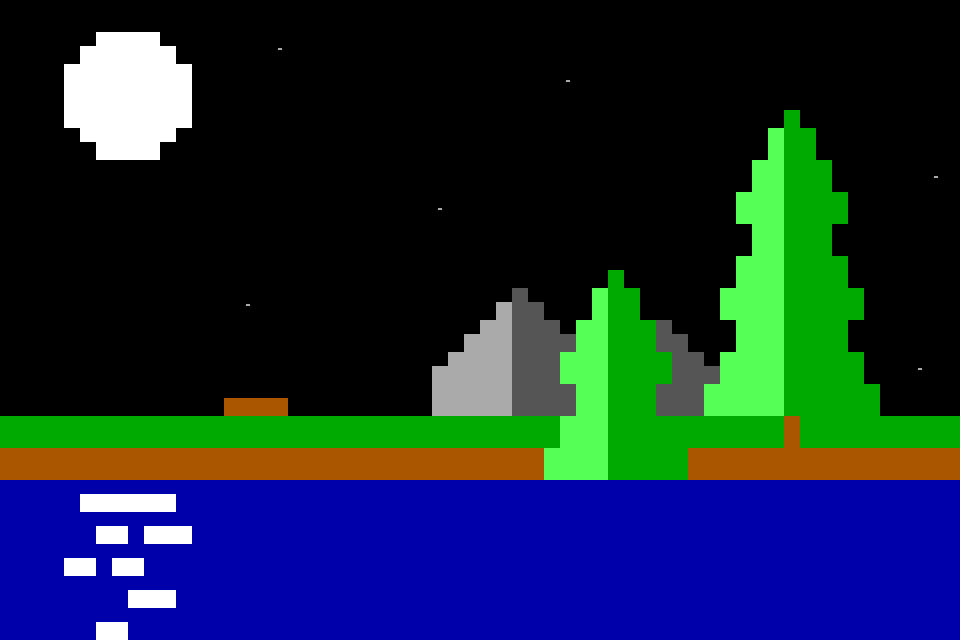
The idea
A scene is parts in places. Draw a part once, where it is easy to draw, and then put it where the picture wants it: pick it up, move it, turn it to face the light, and copy it for a second one. The parts are cells, so a part moved is the same part, cell for cell, and nothing is redrawn.
Three things decide whether the parts make one picture or a sheet of stickers:
- One light. The moon is at the upper left, so every part is lit on its left: the lit side light, the far side dark. A part drawn lit from the right is flipped, not redrawn.
- Near and far. A far thing goes behind a near one. Pasting a part under what is already there puts it behind without cutting round anything.
- No twins. Two identical copies side by side read as a stamp. Copy part of a part, or turn it, so the second one is a relative and not a twin.
The parts sit on their own Cells layer, parts, over the Background layer, which holds the sky, the moon, the stars, the shore and the lake. A cell of parts nobody painted is transparent: the Background layer shows through it, and moving a part never takes the sky with it. Layers are tutorial 09's subject; here they keep the parts apart from the ground.
Selecting and moving
The Select tool (Tools > Select, Ctrl+E) drags out a rectangle of cells, the selection, shown by a dotted line round it, the marquee. Drag inside the selection, or press an arrow key, and the cells are lifted: they float over the layer and move as one, an arrow key a cell at a time. Enter or a click outside puts them down as one edit; Esc puts them back where they were. A part lifted from parts leaves transparent cells behind it; on the bottom layer, here Background, it leaves spaces on black.
The Selection menu turns what is selected: Flip Horizontally (Ctrl+Shift+H), Flip Vertically (Ctrl+Shift+V), Rotate Clockwise (Ctrl+R) and Rotate Counterclockwise (Ctrl+Shift+R). A flip mirrors the glyphs too, so ▐ becomes ▌ and ▀ stays ▀ across, and a turn turns them, so ▐ turned clockwise is ▄. A turned selection keeps its top left corner.
Edit > Copy (Ctrl+C) and Cut (Ctrl+X) take the selection to the clipboard; cut leaves what a lift leaves. Edit > Paste (Ctrl+V) floats the clipboard at the cell cursor, the cell you last clicked, where it moves like a lifted selection until you put it down.
Paste modes
How a float lands is the Paste setting in the Tool Options dock while the Select tool is in hand, or Selection > Paste Mode:
| Mode | Writes |
|---|---|
| Normal | Every cell of the float |
| Transparent | Every cell but the blank ones, spaces on black |
| Under | Only into cells of the layer that are blank, so the float goes behind what is there |
A transparent cell of the float, one nobody painted, never lands in any mode. The difference between Normal and Transparent is a space on black that was painted: a layer opened from an .ans is full of them, and there Normal lands each one as a black box. The setting can be changed while a float is up, and the float shows how it will land.
The manual's Selections has every item of the Edit and Selection menus the tool uses, exactly which cells count as blank, what each flip and turn does to each glyph, and the limits.
Do it
You'll set the pine, stand the dead tree on the shore as a fallen log, put the ridge behind the pine, and grow a young pine from the big one's top. The positions are column then row from 0, 0 at the top left; zoom in (Ctrl+=) so you can count cells.
-
Open the tray. Download start.bwp and File > Open (Ctrl+O) it:
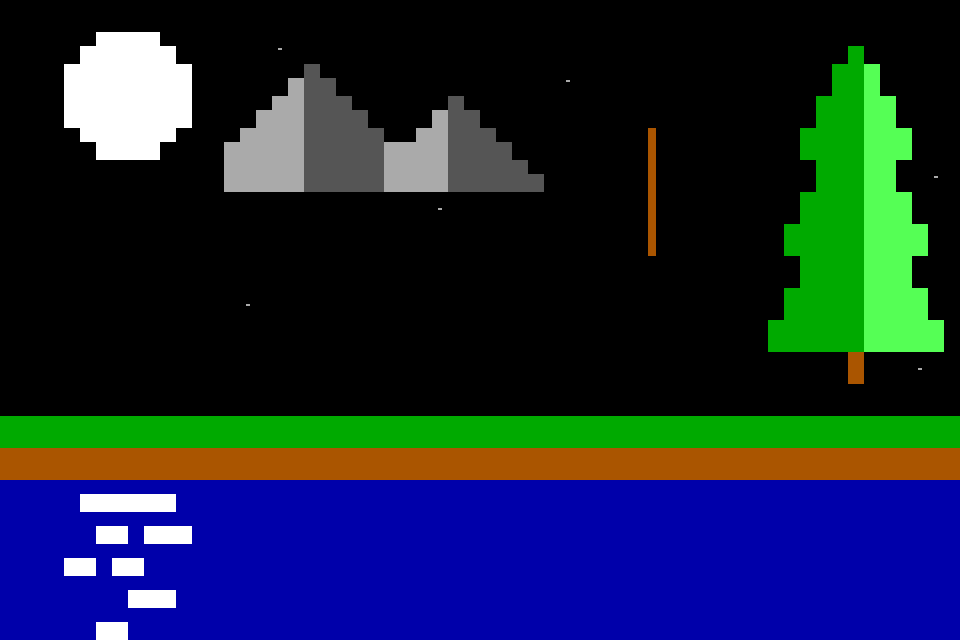
The pine is columns 48 to 58 and rows 1 to 11, its tip
▀at53, 1and its trunk a brown cell at53, 11. It is lit on the right, light green█from column 54, and dark green spaces left of that: the wrong side for a moon on the left. The dead tree is brown▐from40, 4down to40, 7. The ridge is columns 14 to 33 and rows 2 to 5, peaks at columns 19 and 28. The Layers dock lists parts above Background. Opening a file makes the bottom layer active, so click parts: the Select tool lifts from the active layer only. -
Select the pine. Take the Select tool (Ctrl+E) and drag from
48, 1to58, 11: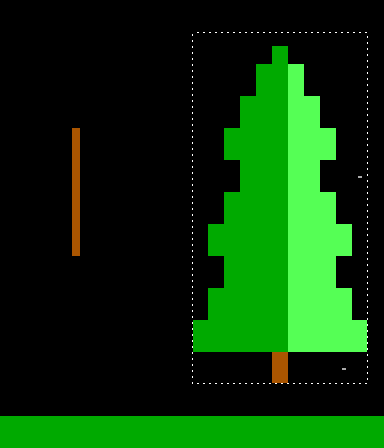
-
Move it. Press ← four times and ↓ twice. The pine floats four columns left and two rows down, and leaves the sky behind it clear:
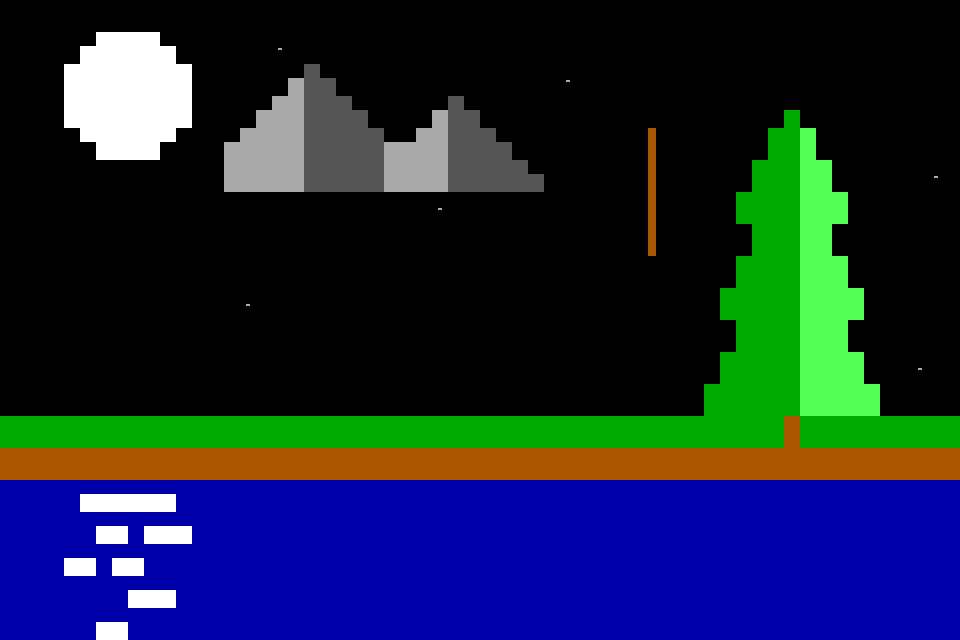
It is columns 44 to 54 and rows 3 to 13 now; its trunk is
49, 13, a brown cell in the green shore. -
Flip it. With the pine still floating, Selection > Flip Horizontally (Ctrl+Shift+H). Then press Enter to put it down:
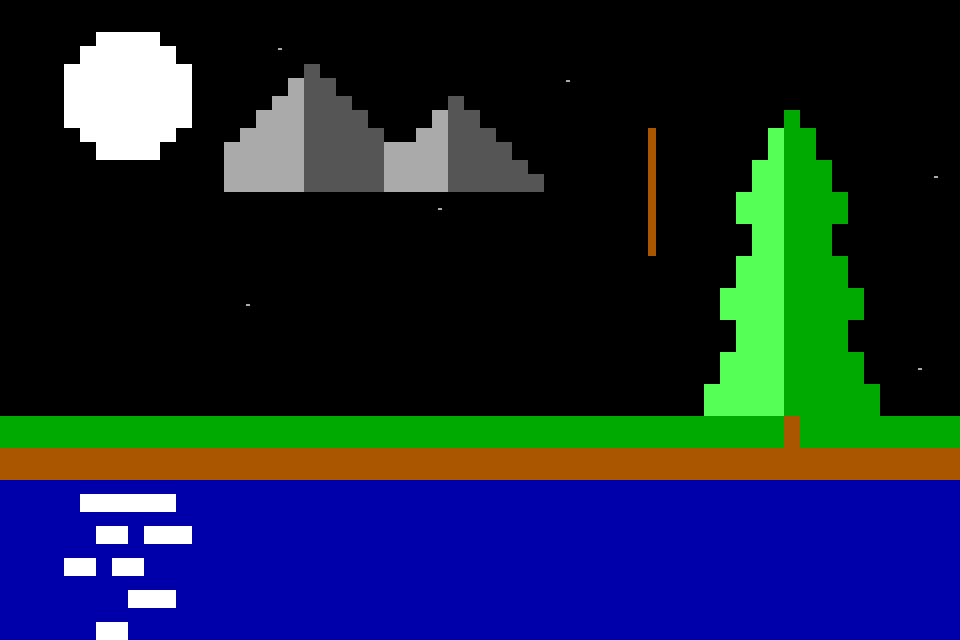
The light green
█is on the left now, columns 44 to 48 at the widest, and the dark green spaces on the right, 49 to 54. The pine faces the moon. Its tip and trunk are still in column 49: the selection was 11 columns wide with them in the middle. -
Fell the dead tree. Drag a selection from
40, 4to40, 7and Selection > Rotate Clockwise (Ctrl+R):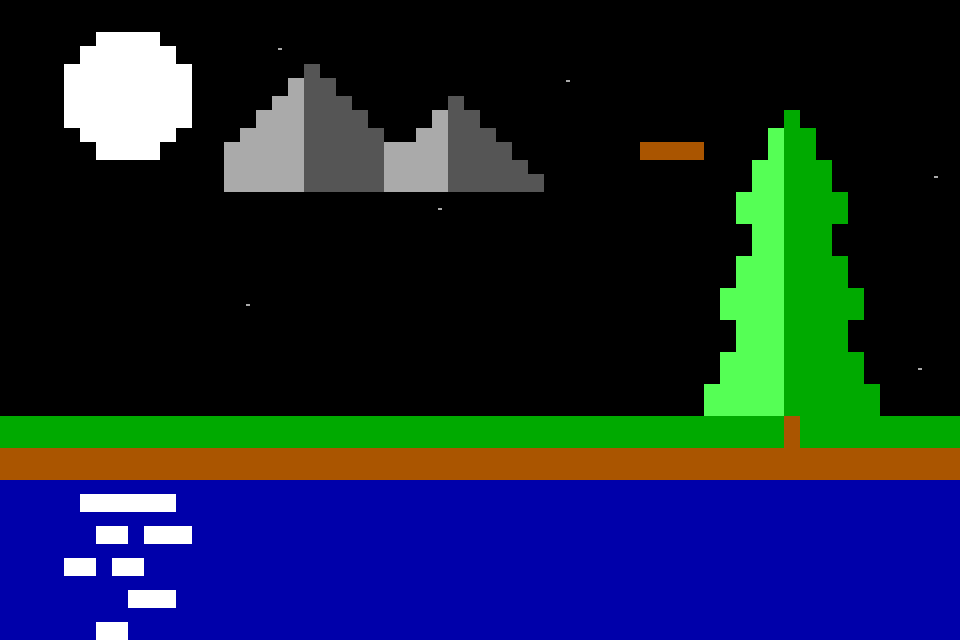
The four
▐are four▄along row 4 from column 40 to 43: the selection turned about its top left corner, and each glyph turned with it. -
Lay it on the shore. Drag the log, from a cell inside the selection, until its left end is at
14, 12, and press Enter: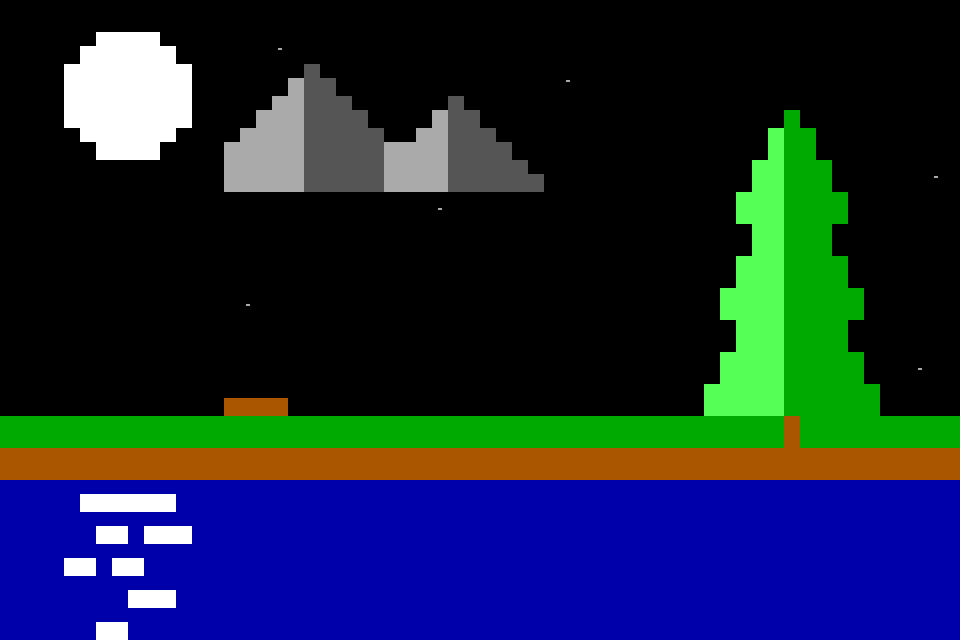
It is brown
▄from14, 12to17, 12: its brown lower halves rest on the green of row 13. -
Set the ridge back. Select the ridge,
14, 2to33, 5, and cut it (Ctrl+X):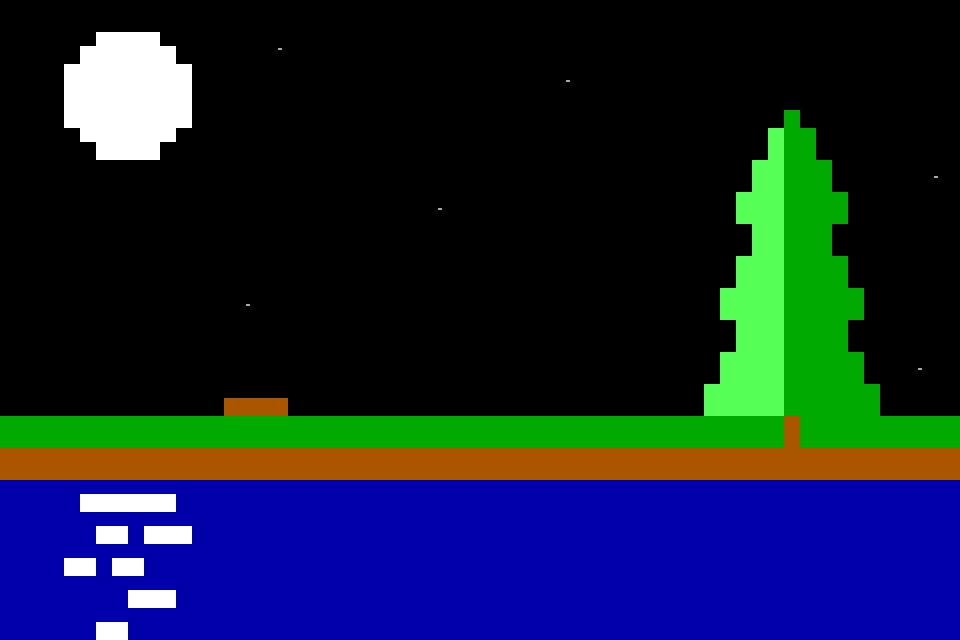
Set Paste to Under in Tool Options, click the cell
27, 9, and paste (Ctrl+V). Press Enter: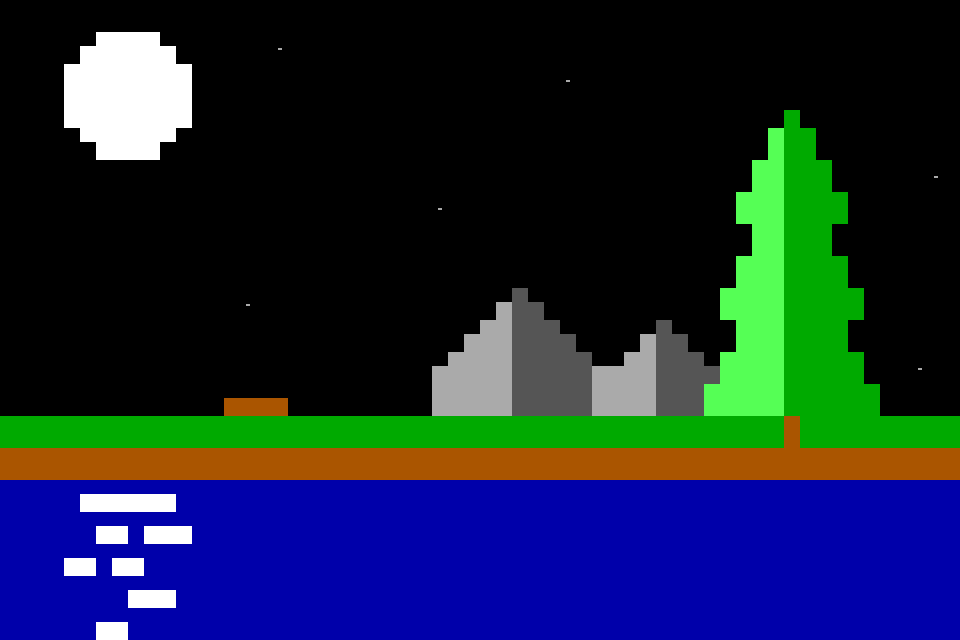
The ridge is columns 27 to 46 and rows 9 to 12, peaks at 32 and 41, its foot on the shore. Its last three columns go behind the pine: on row 12, columns 41 to 43 are the ridge's dark grey
█and 44 is the pine's light green, and on row 11 the ridge's▄at 44 ends at the pine's edge at 45. Under wrote only into cells of parts that were blank, and the pine's cells weren't. -
Grow a young pine. Select the pine's top seven rows,
45, 3to53, 9, and copy them (Ctrl+C). Set Paste to Transparent: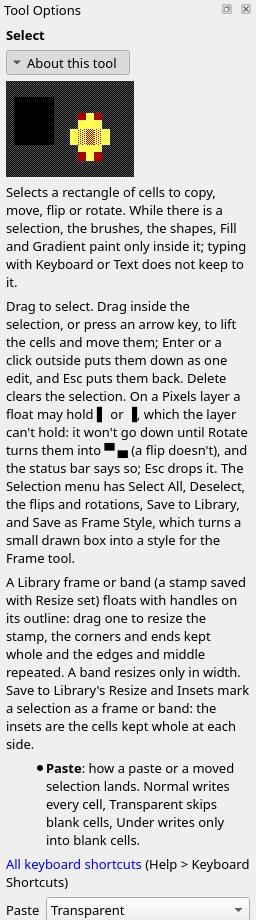
Click
34, 8, paste, and press Enter: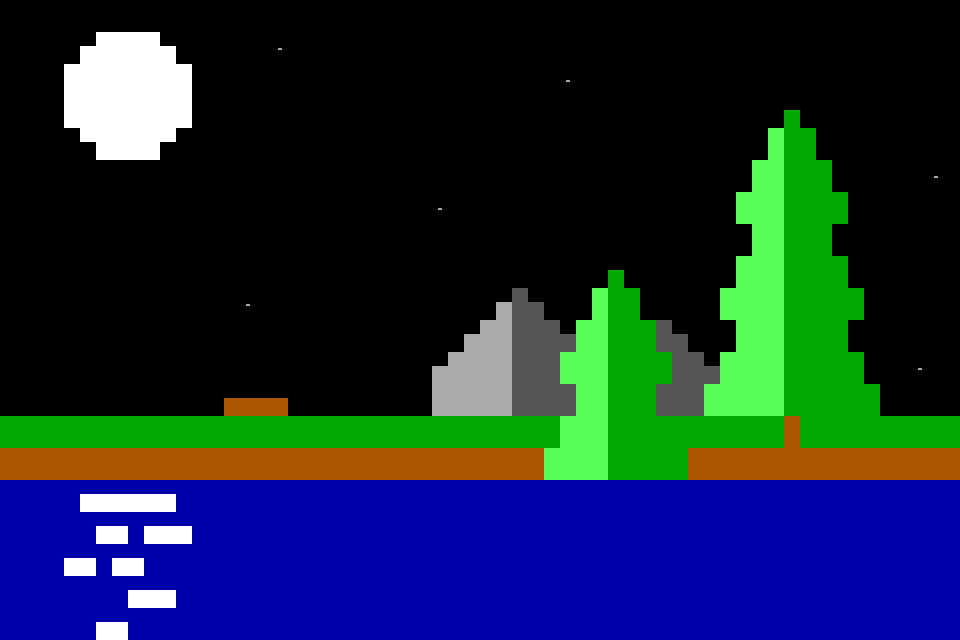
The young pine is columns 34 to 42 and rows 8 to 14, its tip at
38, 8, lit on the left like its parent. It stands in front of the ridge, which shows past it on both sides: the young pine's corners were transparent cells, and those never land. Its foot reaches the brown bank on row 14, lower than the big pine's, so it reads as nearer, not smaller. A whole copy at the same size would read as a twin.That is the scene in the Goal. File > Save As a
.bwpto keep the two layers apart.
Guides
View > Guides draws a line after column 80 and after every 25, 40 or 50 rows (80x25, 80x40, 80x50), the sizes a piece is often viewed at. They are drawn while you work, never saved, and None hides them. At 60 by 20 this scene is inside every one; they matter when a piece is 80 columns wide and you are setting a part near the edge or a break. The manual's Views has them.
A reference image
To place parts over a photo or a sketch, File > Open Reference Image... puts the picture on a Reference layer at the top of the stack, as wide as the canvas, at 50% opacity, and makes it the active layer. Move it with Alt+drag or the Move/Transform tool (Ctrl+Shift+J), size it with its corner handles or Tool Options, and set its opacity with Layer > Reference Opacity. Click parts again before you select: the reference is for you, and is never in a snapshot or an export. The manual's Reference has the rest.
The Library
The Library dock (Window > Library) holds stamps: parts kept as files, the bundled ones and your own. Search them, or pick a category:
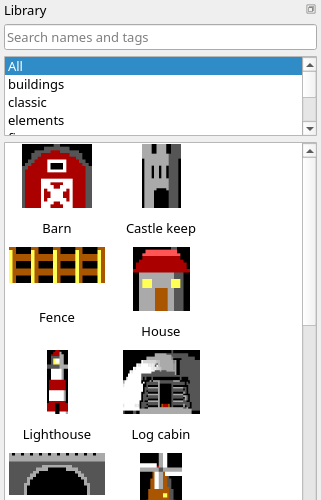
Double-click a stamp, or press Enter on it, and it floats at the cell cursor; drag one onto the canvas and it floats where you drop it. Either way the Select tool is now in hand and the stamp is a float like a paste. It lands in Transparent mode whatever Paste says, unless you change Paste while it floats. Move, flip or turn it, and press Enter.
To keep a part of your own, select it and choose Selection > Save to Library...: give it a name, a category and tags. The name has to be one CP437 can write, and a name already in the library asks before it replaces it. The pine in step 2 would make one, but hide Background first (clear its box in the Layers dock): unlike Copy, which takes the active layer, Save to Library takes what the visible layers show, and with the sky showing the stamp would carry the stars at 58, 5 and 57, 11. Tick its box again once the stamp is saved: a hidden layer stays out of the window and out of every export.
The Scene Starter, a scene laid out from the Library in one go, isn't in the app yet.
The category you type is your own set of stamps: a new name is a new entry in the category list. The manual's Library has the dock, frames and bands that resize, the Save to Library dialog, your own stamps and categories and where stamps are kept.
Check it
Flip to the light. The pine left as it came, and the young pine copied from it:
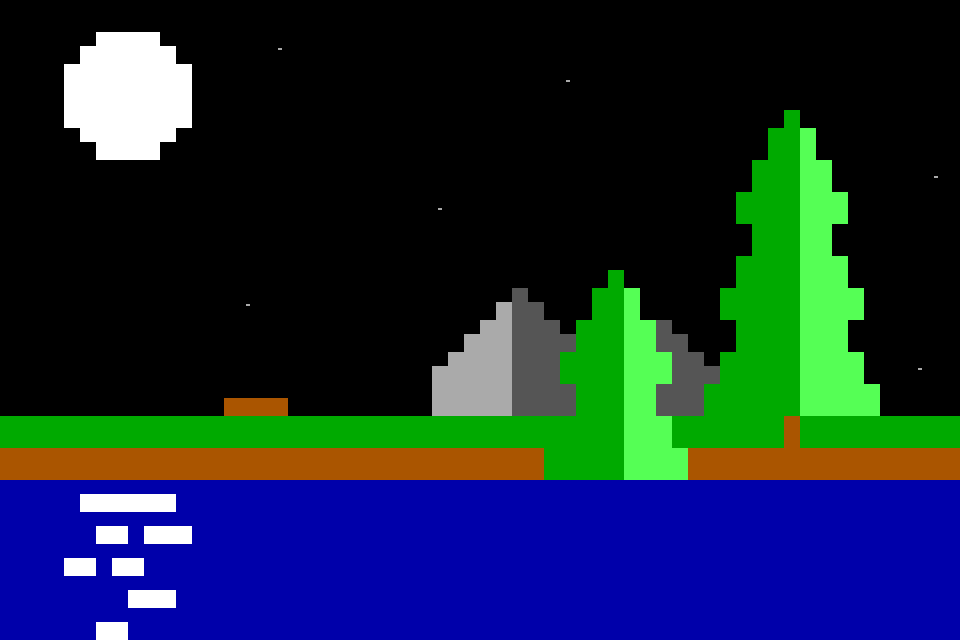
The big pine's light green is columns 50 to 54 and the young pine's 39 to 42: both lit from the right, and the moon is on the left. The ridge, drawn lit from the left, now disagrees with them. Each part reads well on its own; together they have two lights. Undo (Ctrl+Z) back past the pine's move, steps 5 to 8 and then the pine: lifting, moving and putting down are one edit, so the last undo puts the pine back in the tray. Select it again, move it, flip it before you press Enter, and do steps 5 to 8 again.
Far things go under. The ridge pasted in Normal mode:
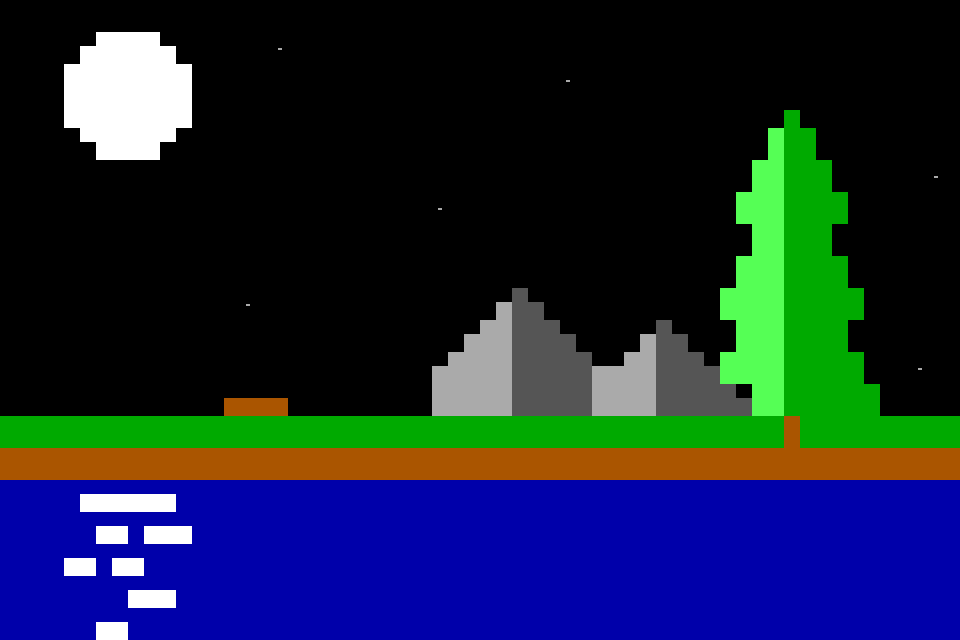
On row 12, columns 44 and 45 are the ridge's dark grey █ and 46 its ▄, where the pine's light green was: the ridge has come in front of the tree. The far slope cuts the near tree, and the eye reads the pine as behind a hill it should stand in front of. Undo, set Paste to Under, and paste again.
Look at the active layer. If Background is the highlighted row in the Layers dock, the marquee lifts the sky, and the pine stays where it was. Click parts before you select.
Try it
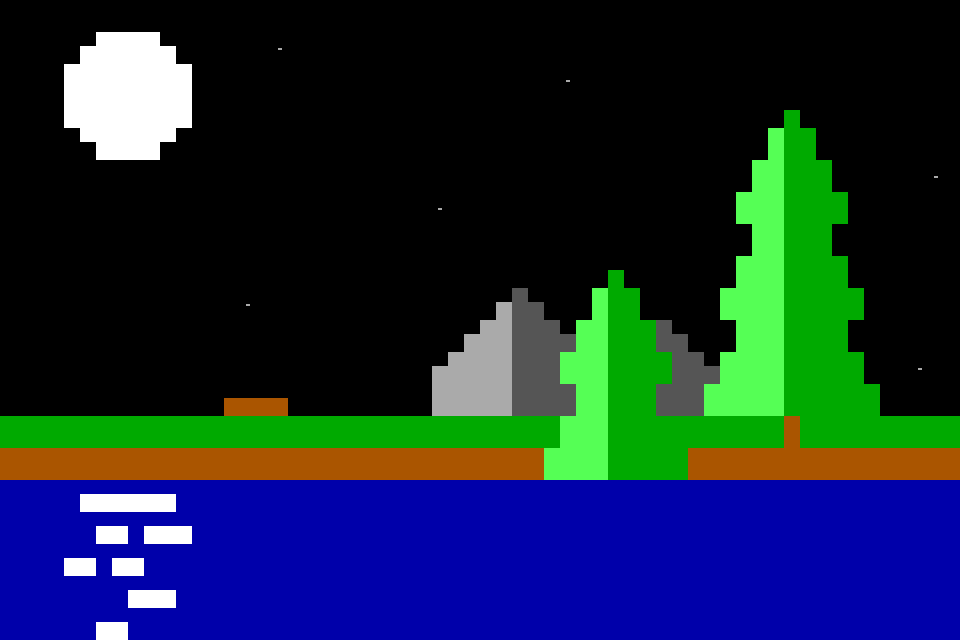
try.bwp is the scene as it is after step 8, both layers.
- Stand the log back up as a dead tree on the shore, just right of where it lies. Which way do you turn it, and where does it end up?
- Add a third pine at the right edge, from the middle of the big pine's top only. Which mode keeps the sky round it?
Answers
-
Click parts, select
14, 12to17, 12, and Selection > Rotate Counterclockwise (Ctrl+Shift+R): the▄turn back to▐, in column 14 from row 12 to 15. Press → four times and ↑ three times, and Enter: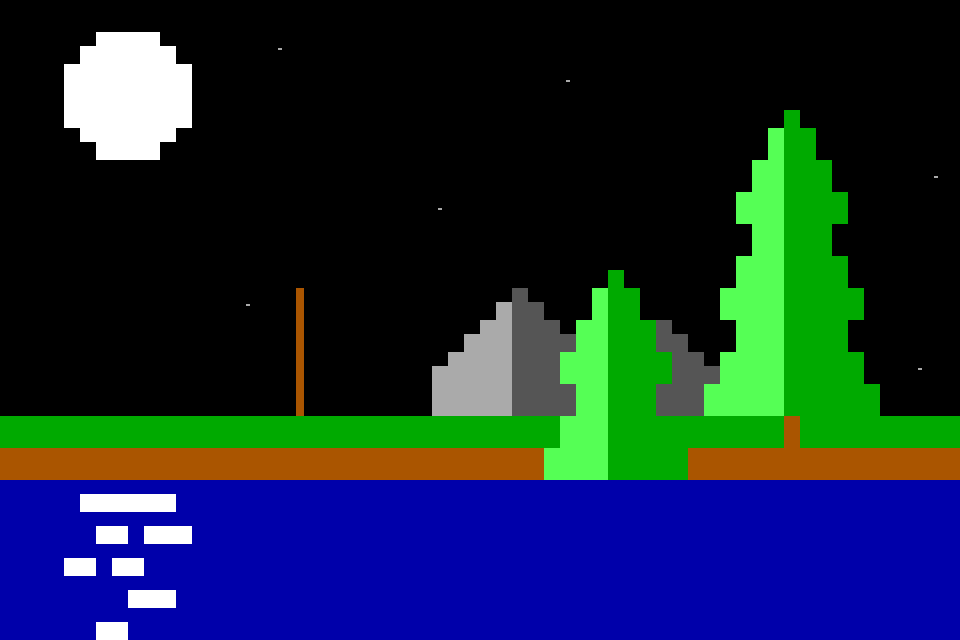
It is
▐from18, 9down to18, 12, its foot on the shore. Clockwise would make the four▄into▌, the left halves of their cells: a different stroke, not the tree it was. -
Select
47, 3to51, 6, the tip and the middle of the branches under it, and copy. Click55, 9, paste with Paste at Transparent, and Enter: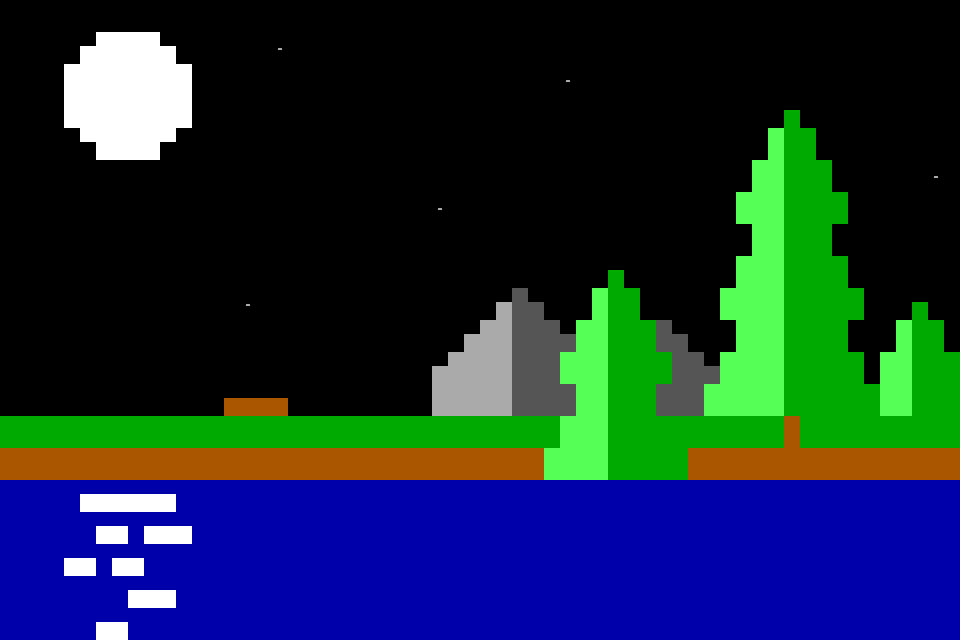
It is columns 55 to 59 and rows 9 to 12, tip
▀at57, 9, lit on the left. Its corners were never painted, so they don't land in any mode, and the sky shows round it. The star at57, 11is gone, under a dark green cell: a part pasted over the Background layer's detail covers it, whatever the mode. Smaller than the young pine and standing back on the shore, it reads as further off.
Tutorial 09, Layers and projects, goes on from here: what the two layers in this scene are, how they combine, and what the project file keeps.
Describes Blockwright 0.1.0 (12ee9ef).