Layers and projects
Goal
Keep the parts of a piece on layers you can change apart, and keep the whole as a project. You'll take the castle from tutorial 07 and add two Pixels layers: blue banners, raised over the door, and a dark grey cloud moved across the moon, with a snapshot after each, all in one .bwp. Shown at 2×:
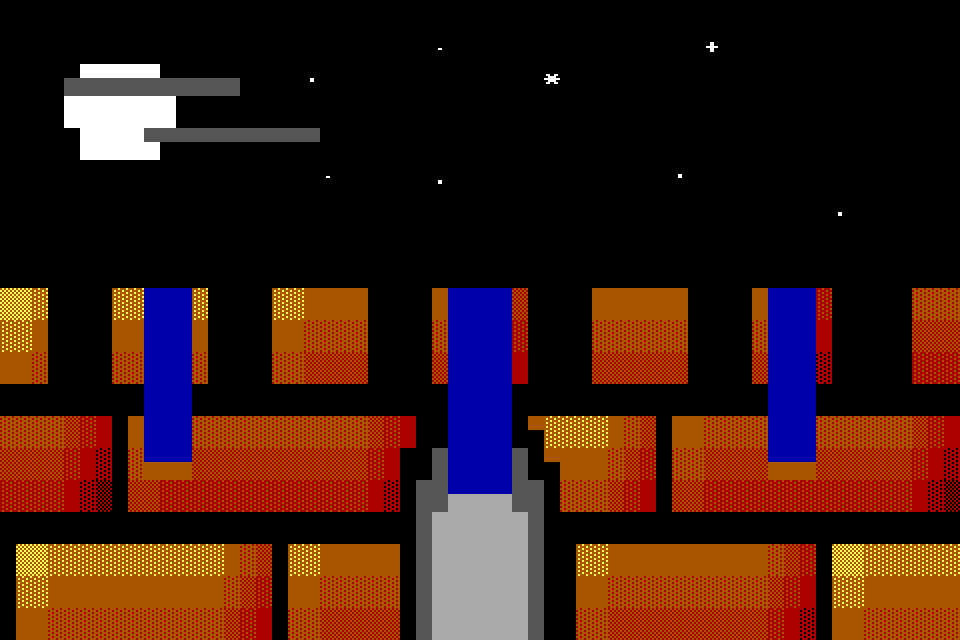
The idea
A piece is a stack of layers. Each cell of the canvas takes the layers over it in turn, bottom first, and the result is what you see, what an .ans holds and what goes to IRC: one glyph and two colours a cell. The layers are for you while you work. What is on one layer can be moved, hidden, redrawn or deleted without touching the others.
The castle from tutorial 07 is two layers, the wall and sky on Background and the door on door. With the door hidden:
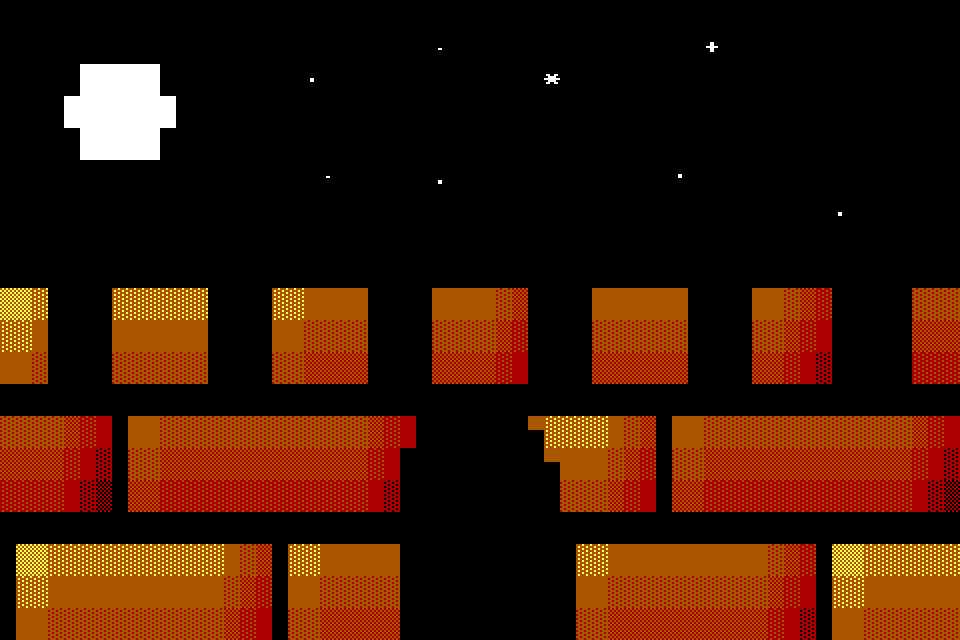
With the Background layer hidden:
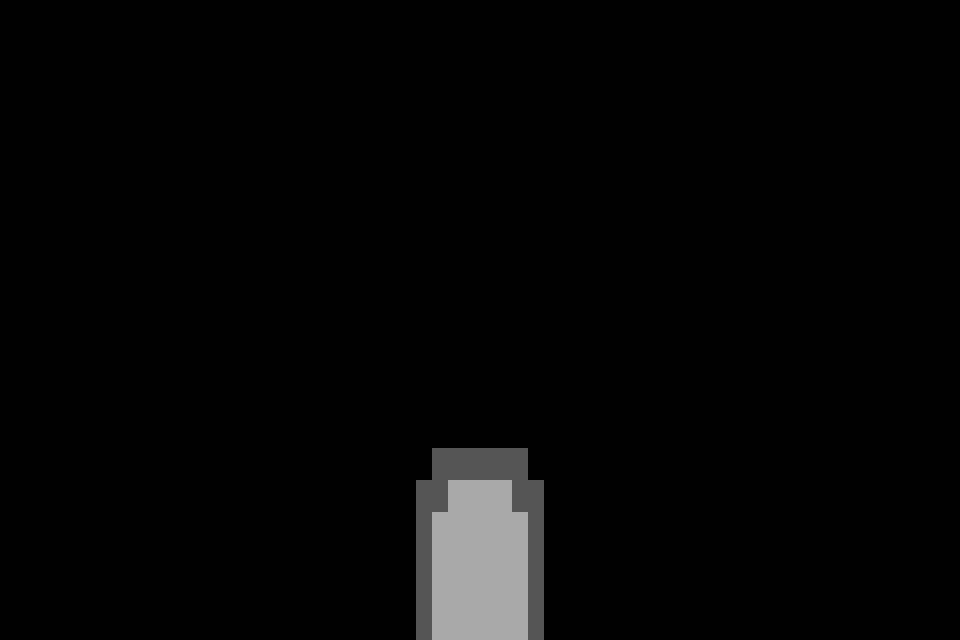
Hidden, the door leaves the gate black from column 25 to 34 on rows 15 to 19: the Background layer was never painted grey there. The door on its own is dark grey █ along row 14 from column 27 to 32, at 26, 15, 27, 15, 32, 15 and 33, 15, and down columns 26 and 33 from row 16 to 19, with grey spaces inside it. Every other cell of the door layer is transparent, so with nothing under it the canvas there is blank, a space on black.
The five kinds
A layer's kind decides what it holds and which tools paint it. The Kind column of the Layers dock names it:
| Kind | Holds | Made by |
|---|---|---|
| Cells | A glyph and a foreground and background colour in each cell | + Cells, Layer > New Cells Layer |
| Pixels | Two half-block colours a cell, top and bottom, each a palette colour or transparent | + Pixels, Layer > New Pixels Layer |
| Text | Live text in a font, drawn as glyph cells | The Text tool |
| Generator | A program's output, kept as glyph cells | File > Open Scene... |
| Reference | A picture to trace | File > Open Reference Image... |
Every tool paints a Cells layer. A Pixels layer takes the Half-Block Brush, Line, Rectangle, Ellipse and Fill, and refuses shades and other glyphs. Painting tools can't change a Text layer's letters or a Generator layer's cells: the text is edited with the Text tool, and a generator runs again from its parameters (Generator layers and scripts). A Reference layer is for you only: it is never in the export. This tutorial uses Cells and Pixels layers. Tutorial 08, Composing a scene, covers the reference image, tutorial 10, Letters and text, Text layers, and tutorial 12, Scripts and generators, Generator layers. The manual's five kinds and which kind to pick have the rest.
How the layers combine
A cell of a Cells layer is opaque or transparent. A transparent cell adds nothing; an opaque one replaces the cell under it, glyph and colours, in the layer's normal mode (below). A new layer is all transparent. The Background layer of the castle has no transparent cells at all: a layer under it never shows.
A Pixels layer sets halves. On one with no layer style switched on, as both in this tutorial are, a cell with both halves set is a half-block cell of its own, and covers what is under it. Where it sets one half, and with iCE colours on, as this piece has them, the other half shows what is under it in that cell: the colour of that half under █, ▀, ▄ or a space, the background under ░, the foreground under ▓, and under ▒ its darker colour in the top half and its lighter colour in the bottom one. Any other glyph, a star say, shows its background, and the glyph goes. So a pixel shape laid over shading ends without a speck, and a pixel shape over a star hides it. A layer style composites the layer as whole cells instead, so its free halves no longer show what is under them (How the layers combine). With iCE colours off, a free half that would show a bright colour next to a bright pixel of another colour shows dark instead (Pixels in the manual).
The mode of a Cells, Text or Generator layer decides what its opaque cells write: normal, the whole cell, chars-only, the glyph alone, or colours-only, the colours and formatting (bold, italic, underline, blink) alone. A Pixels layer ignores it. A new layer is normal, and the app has no control for it; the manual's How the layers combine shows how to set it in the project file. Two more rules. A glyph a Text layer writes, in normal or chars-only mode, stays in front of any Pixels layer, above or below it, until a Cells or Generator layer above the text writes its own glyph there. And a Reference layer or a hidden layer is skipped.
The project file
Only a project keeps the layers. A .bwp is a zip of small files: manifest.json with the size, the IRC budget, the SAUCE fields and the order of the layers, and for each layer a layers/<id>.json with its kind, name, place and settings and a layers/<id>.cells with its cells. The canvas you see isn't kept in it, apart from the snapshots below: it is made from the layers each time. An .ans holds one flat canvas, so saving a project as an .ans writes the visible layers merged, and the .ans opens again as one Cells layer.
A snapshot is the visible layers merged at one moment, kept inside the project as snapshots/r1.ans, r2.ans and on: a version you can go back to, look at or send. The full layout is in the manual's Projects (.bwp).
Do it
You'll add the banners on one Pixels layer and the cloud on another, take a snapshot after each, look inside the project, and save a flat copy. The positions are column then row from 0, 0 at the top left; zoom in (Ctrl+=) so you can count cells. The Rectangle takes pixel positions, as in tutorial 03: the column, then the pixel row, two to a cell row, so cell row 9 holds pixel rows 18 and 19. Set the options in the Tool Options dock; they carry over from tool to tool, so each step gives only the ones it changes.
-
Open the castle. File > Open (Ctrl+O) the
.bwpyou saved at the end of tutorial 07, or download final.bwp and open that. The Layers dock lists door above Background. Opening a file makes the bottom layer active, so Background is the highlighted row. -
A layer for the banners. Press + Pixels under the list (Layer > New Pixels Layer). A new layer goes just above the active layer, here between Background and door, and becomes the active layer. Double-click its name and type
banners: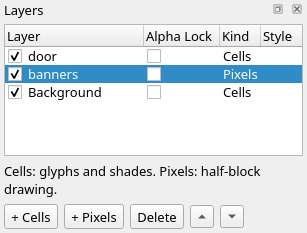
-
Two banners. Take the Rectangle (Tools > Rectangle, Ctrl+U), tick Filled, and left-click blue, the second swatch. Choose Edit > Symmetry > Mirror X. Drag from
9, 18to11, 28: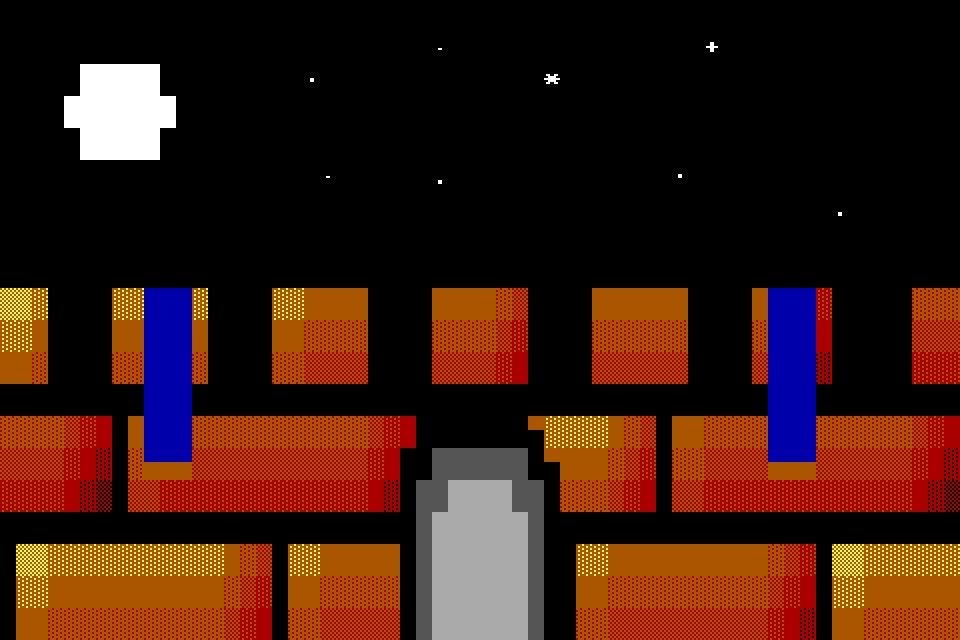
The banner is columns 9 to 11, and Mirror X draws its mirror image at 48 to 50. Each is blue spaces from row 9 to 13, the cells with both halves blue, and
▀blue on brown on row 14: pixel row 28 is the top half of cell row 14, and the bottom half shows the wall. The wall there was brown▓on red at column 9 and brown▒on red at 10 and 11 and from 48 to 50, so the free half is brown in all six: the foreground of▓, and the lighter colour of▒. The side banners are done, so set Symmetry to Off. -
The middle banner. Drag from
28, 18to31, 30: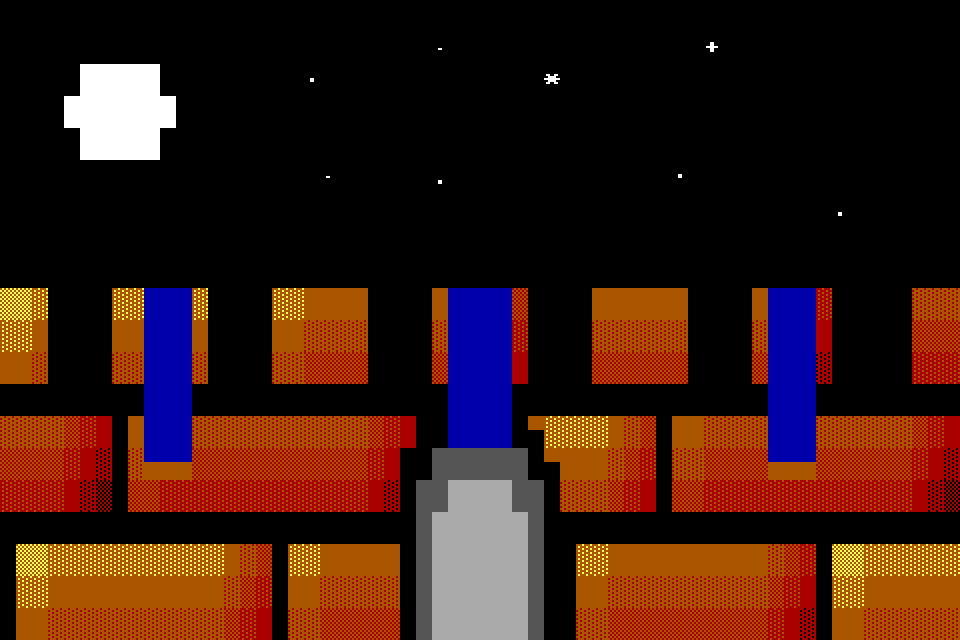
The banner covers columns 28 to 31 from row 9 to 13, blue spaces over the middle merlon, the mortar under it and the black top of the gate. It runs on to the top half of row 15, but there it is under the door: the banners layer is below the door layer, and the door's cells are opaque. Row 14 is still dark grey
█from column 27 to 32, and row 15 still grey spaces from 28 to 31. -
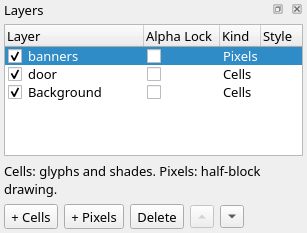
Raise it. Press ▲ under the list (Layer > Raise Layer). The banners layer goes above door, to the top; ▲ is greyed out, since it can't go higher:
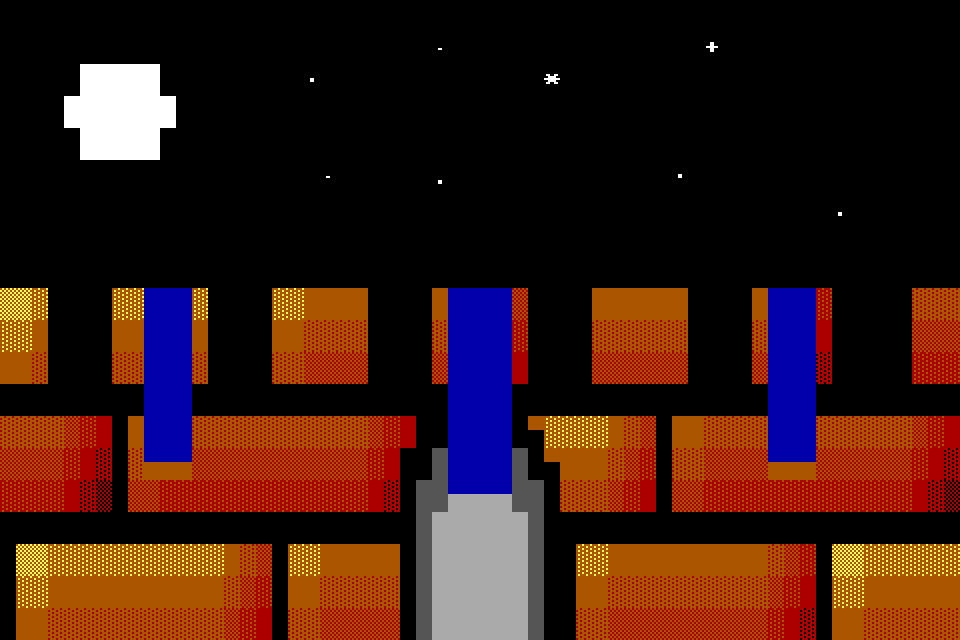
Row 14 from column 28 to 31 is blue spaces, between the door's dark grey
█at 27 and 32, and row 15 from 28 to 31 is▀blue on grey: the lower halves show the door. The cells on each layer are the same as in step 4. Only the order changed. -
Take a snapshot. Choose File > Take Snapshot. The status bar says
Took snapshot r1; saving the project keeps it, so save: File > Save (Ctrl+S). The project now holdssnapshots/r1.ans, the canvas as it is now. Taking a snapshot is one undo step. -
A layer for the cloud. Click Background in the Layers dock, press + Pixels, and name the new layer
cloud. It sits above Background and under door and banners. The Rectangle is still the tool and Filled still ticked; left-click dark grey, the ninth swatch. Drag from14, 5to24, 5, and from19, 8to29, 8: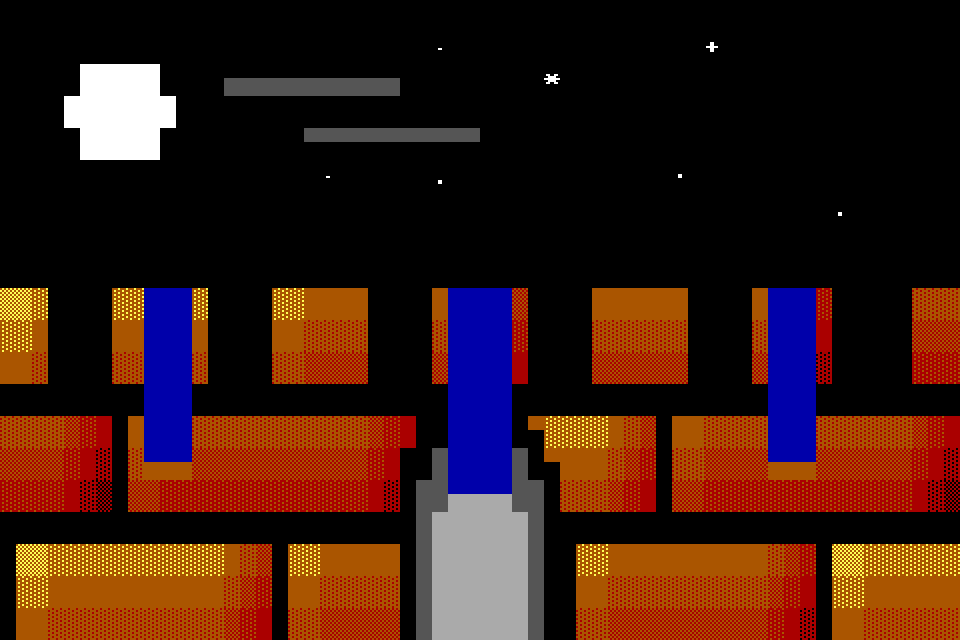
Each drag is one pixel row. Pixel row 5 is the bottom half of cell row 2, so row 2 from column 14 to 24 is
▄dark grey on black; pixel row 8 is the top half of cell row 4, so row 4 from 19 to 29 is▀dark grey on black. The star at19, 2,∙white on black, is gone: its cell shows its background, black, in the free half. -
Move the cloud. cloud is the active layer. Hold Alt and left-drag on the canvas, with any tool, 10 cells to the left; the status bar shows how far it has gone. An art layer moves by whole cells, and the move is one undo step:
Row 2 is
▄dark grey on black at column 4 and from 10 to 14, and▀white on dark grey from 5 to 9: there the top halves show the moon's white█. Row 4 keeps the moon's white█from 5 to 8, then▀dark grey on white at 9 and on black from 10 to 19. The star at19, 2is back. It was on the Background layer all along.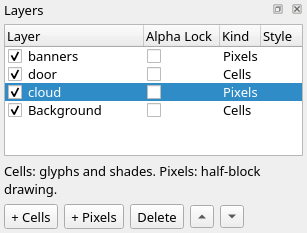
-
Hide and show. Untick the box beside cloud:
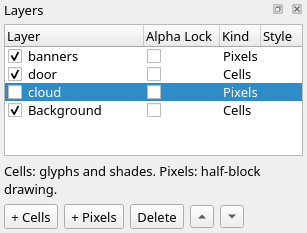
The cloud goes, and the canvas is step 5's again. A hidden layer still saves with the project, but it isn't in the canvas, a snapshot, an export or the lint, and the tools don't paint it. Tick the box again.
-
Another snapshot. File > Take Snapshot takes
r2. Save (Ctrl+S). -
Look inside. A
.bwpis a zip, so any zip tool lists it. final.bwp is the project as it is now:$ unzip -l final.bwp Archive: final.bwp Length Date Time Name --------- ---------- ----- ---- 632 1980-01-01 00:00 layers/1.cells 212 1980-01-01 00:00 layers/1.json 104 1980-01-01 00:00 layers/2.cells 206 1980-01-01 00:00 layers/2.json 159 1980-01-01 00:00 layers/3.cells 210 1980-01-01 00:00 layers/3.json 97 1980-01-01 00:00 layers/4.cells 210 1980-01-01 00:00 layers/4.json 619 1980-01-01 00:00 manifest.json 3350 1980-01-01 00:00 snapshots/r1.ans 3412 1980-01-01 00:00 snapshots/r2.ans --------- ------- 9211 11 filesEach layer is known by a number: 1 is Background, 2 door, 3 banners and 4 cloud, in the order they were made.
manifest.jsonputs them in order, bottom first, as"layers": [1, 4, 2, 3], and gives the next new layer 5. The cloud'slayers/4.jsonholds its move:{ "alphaLocked": false, "height": 20, "id": 4, "kind": "pixels", "locked": false, "mode": "normal", "name": "cloud", "visible": true, "width": 60, "x": -10, "y": 0 }The layer is still 60 columns wide: its left 10 columns are off the canvas, and a layer keeps its cells there.
blockwright-cli inforeads the same, with the layers top first:$ blockwright-cli info final.bwp file: final.bwp project: zip size: 60x20 ice: on encoding: CP437 target: ansi irc budget: 407 bytes (efnet-weechat) layers: 4 (next id 5) 3 pixels 60x20 at 0,0 normal visible yes, locked no, alpha locked no banners 2 cells 60x20 at 0,0 normal visible yes, locked no, alpha locked no door 4 pixels 60x20 at -10,0 normal visible yes, locked no, alpha locked no cloud 1 cells 60x20 at 0,0 normal visible yes, locked no, alpha locked no Background notes: 0 bytes snapshots: 2 (last r2) files: 0 sauce: yes title: Detail author: funkpower group: date: 20261105 letter spacing: not set aspect: not set font: IBM VGA comments: 0The window has no list of snapshots. To look at one, take it out of the zip and open it:
unzip -p final.bwp snapshots/r1.ans > r1.ans.r1.ansis the canvas of step 5, andr2.ansthe one above. -
A flat copy. File > Save As (Ctrl+Shift+S), with a name ending
.ans. The status bar saysExported, the.ans's path,flattened; the document is stilland the project's path: the window still holds the project, four layers and all, and Ctrl+S still saves the.bwp. The.ansholds the canvas as you see it and its SAUCE, and no layers. Open it (Ctrl+O) and it is one Cells layer: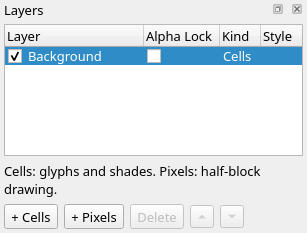
final.ans, saved from the project above, is byte for byte the project's
snapshots/r2.ans. Keep working in the.bwp, and save an.answhen you want one to send.
Check it
Draw half blocks on a Pixels layer. On a Cells layer a stroke of the Rectangle makes whole opaque cells. The cloud drawn on a layer added with + Cells, and moved the same way:
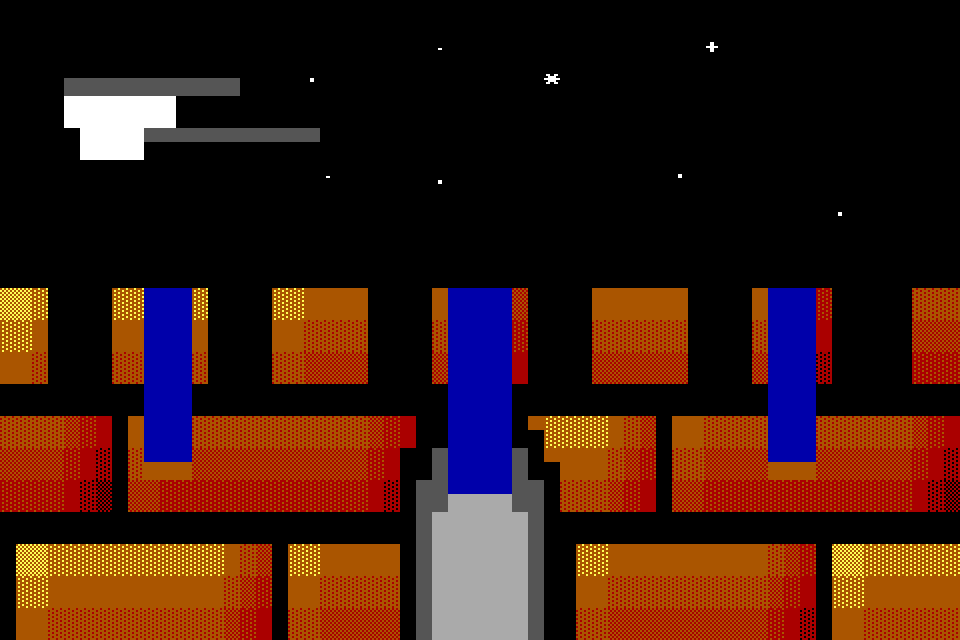
Row 2 from column 4 to 14 is ▄ dark grey on black, so the moon's white █ from 5 to 9 is gone under the black top halves. Row 4 is ▀ dark grey on black from 9 to 19, and the moon's white ends at 8. On the new Cells layer the half each stroke didn't set is black, and it covers what is under it. Undo back to before the layer, and add it with + Pixels.
Look at the active layer before you move. Alt+drag moves the active layer, whatever is under the pointer. The move of step 8 made with Background clicked first:
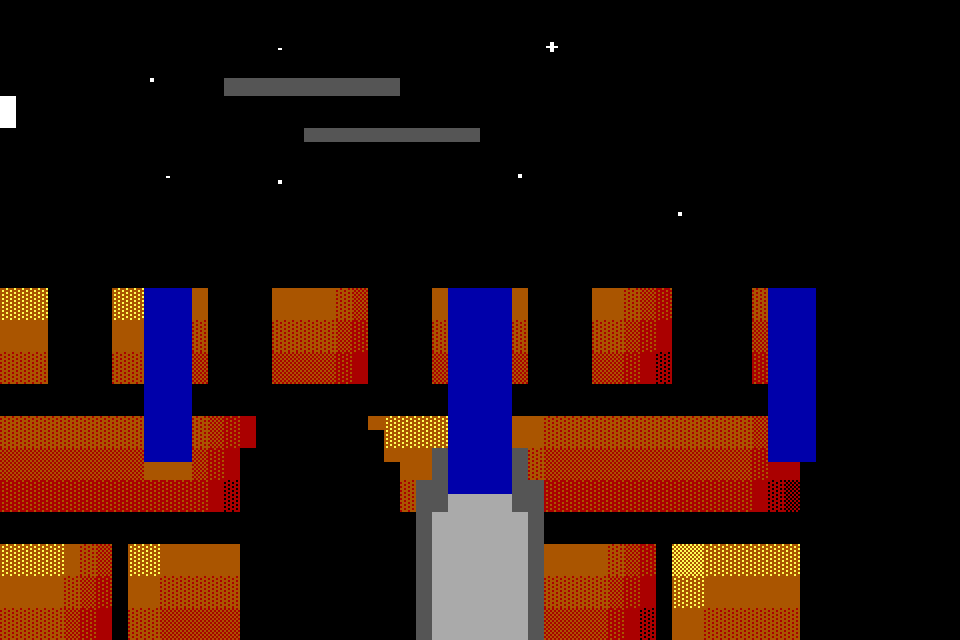
The sky and the wall went 10 columns left. Of the moon, only 0, 3 is left, white █. The stars are at 17, 1, 34, 1, 9, 2, 10, 5, 17, 5, 32, 5 and 42, 6; the eighth, now at 24, 2, is under the cloud. The gate is black from column 15 to 24 on row 15, left of the door, which didn't move. From row 9 down, columns 51 to 59 are blank, spaces on black, and so is column 50 below the right banner: the Background layer no longer reaches them, and nothing is under it. Undo (Ctrl+Z), click cloud, and move again.
Show what you want kept. A hidden layer is left out of a snapshot and of an .ans too. A snapshot taken in step 10 with the cloud still hidden would be r1 over again, byte for byte. Tick every layer you want in it before you take one.
Try it
Download try.bwp and open it (File > Open, Ctrl+O):
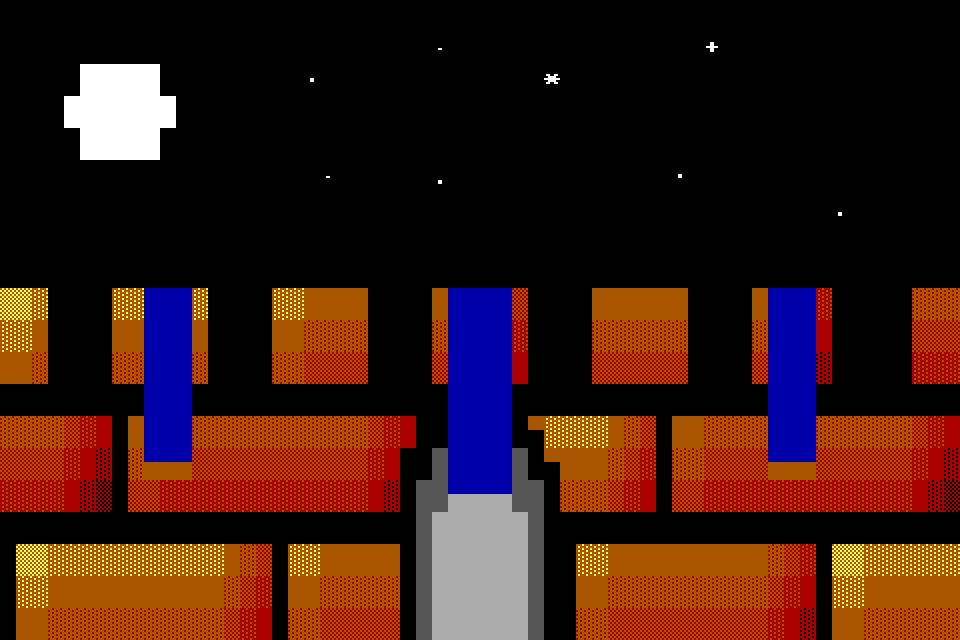
It is the project as it was after step 6: banners, door and Background, and one snapshot.
- Lower the banners layer to the bottom of the stack. What happens to the banners, and why?
- Put the banners back on top and hide the door layer. What is under the middle banner's last row, row 15?
- Without opening the app, how many snapshots does
try.bwphold, and which layer is on top?
Answers
-
Click banners in the Layers dock and press ▼ (Layer > Lower Layer) twice:
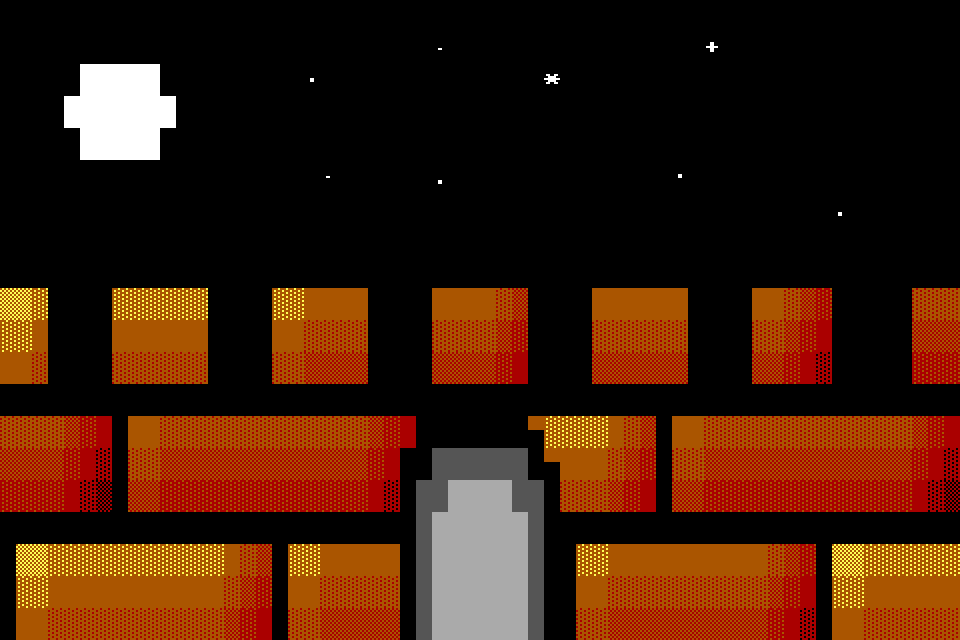
The banners are gone from the canvas: it is the castle of tutorial 07, cell for cell. Every cell of the Background layer is opaque, so nothing under it shows. The banners are still in the project; press ▲ twice and they are back.
-
With banners on top again, untick the box beside door:
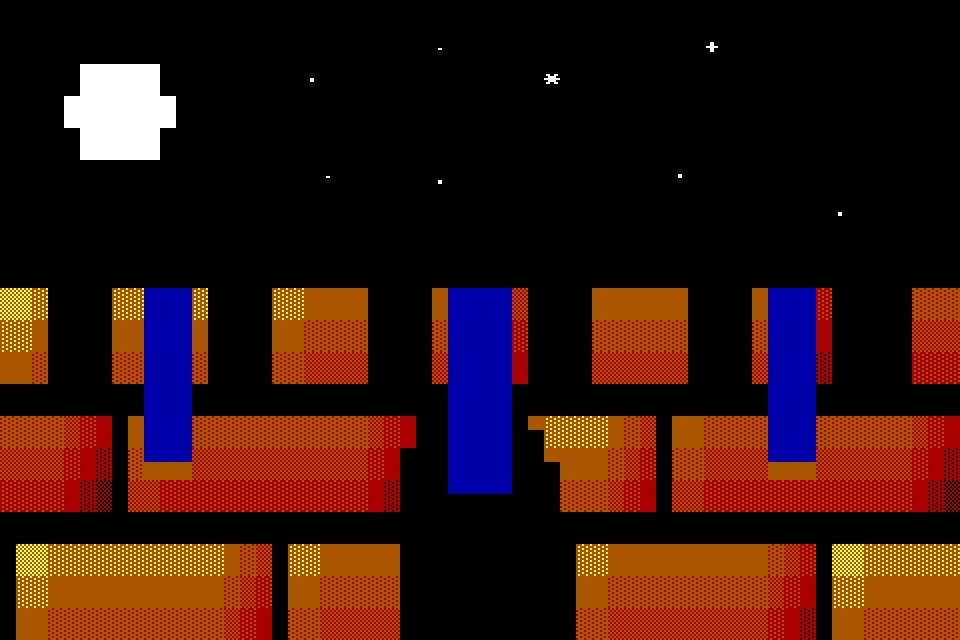
The gate is black again. Row 14 from column 28 to 31 is blue spaces with black on each side, and row 15 from 28 to 31 is
▀blue on black: the lower halves show the Background layer's black gate, where with the door shown they showed its grey. -
One snapshot, and banners on top.
blockwright-cli info try.bwplists the layers top first and counts the snapshots:layers: 3 (next id 4) 3 pixels 60x20 at 0,0 normal visible yes, locked no, alpha locked no banners 2 cells 60x20 at 0,0 normal visible yes, locked no, alpha locked no door 1 cells 60x20 at 0,0 normal visible yes, locked no, alpha locked no Background notes: 0 bytes snapshots: 1 (last r1)Or list the zip: one
snapshots/r1.ans, and the last number in the manifest's"layers", bottom first, is the top layer.
Tutorial 10, Letters and text, goes on from here: lettering by hand, letters that misread at 1×, and TheDraw fonts on Text layers.
Describes Blockwright 0.1.0 (12ee9ef).