Scripts and generators
Goal
Let programs draw part of a piece. You'll take the ridges generator from a sample, set its form until the mountains look right, keep a copy of its cells, write a small generator of your own for meteors, and finish the piece from a terminal with blockwright-cli. Shown at 2×:
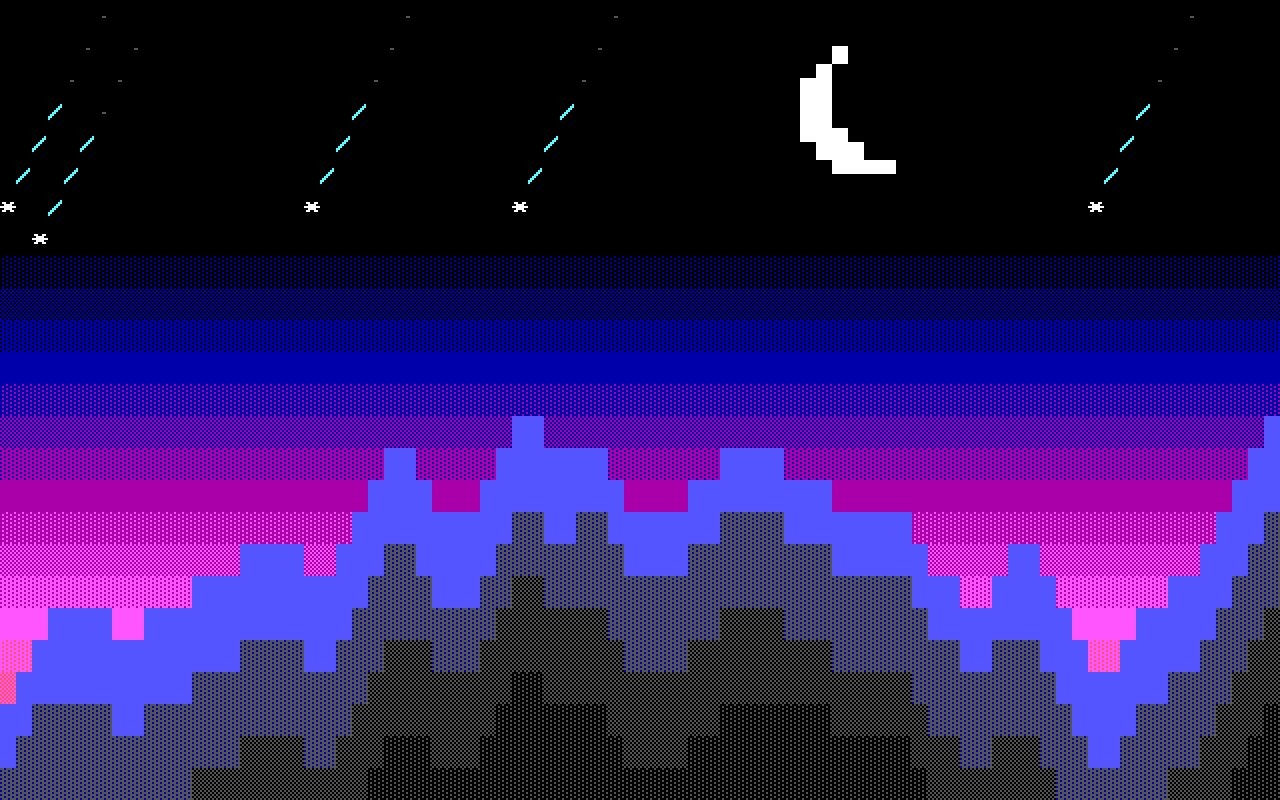
Two of its five layers are generators: the ridges, drawn by a shell script that ships with the sample Ridges at dusk, and the meteors, drawn by a Python script of 50 lines you'll write here. The ridges script, in this piece and in every other project on this page that carries it, is Blockwright's own and is under the GNU General Public License, version 3 or later, as Blockwright is; the meteors script and the rest of these docs are under CC BY-SA 4.0.
The idea
A Generator layer holds the output of a program. The program reads a few parameters and draws the layer's cells; the layer keeps the cells it drew, and the project keeps the program beside them under scripts/<id>/. Select the layer and its parameter form appears in the Layers dock, under the layer buttons: one field a parameter. Change a field and the program runs again.
Three things follow from that:
- The program draws, you choose. You can't paint on a Generator layer: the brushes and typing leave its cells alone (Limits). What you control is the form.
- A seed is just a parameter. Blockwright has no randomness of its own. A generator that wants random-looking output declares a Seed and draws its numbers from it, so the same form gives the same cells every time, on every computer that has the program. Changing the seed is how you ask for another roll of the dice.
- Running is opt-in. A generator is a program run with your permissions. The first time a project's generators would run in a session, Blockwright asks, in a dialog called Run Generators, which names the project and the command it would run; No is the default. Opening, saving and exporting never run a generator, so a project shows and exports the same on a computer without the program.
A generator is a directory: a generator.json naming the command and declaring the parameters, the program, and a params.json of values the form writes. The program reads one line of JSON on its standard input (the canvas, the layer, the parameters) and writes an .ans on its standard output. With a key colour, its blank cells on that background are transparent, so the layers below show through. The manual's Writing a generator has every key and type.
Blockwright has no menu item that adds a generator to an open project: that is a job for the command line, blockwright-cli add-generator, below. One other way in makes Generator layers: File > Open Scene... (no shortcut) opens a Python scene as a new project, a Generator layer for each layer the scene lists. It asks first in the same Run Generators dialog, this time to run the scene, and then a progress dialog, Open Scene, says Listing the scene's layers... and Running layer N of M (name)... for each one (Opening a scene). This tutorial doesn't need it.
Smart prefabs, parts that redraw themselves to fit, aren't in the app yet.
Do it
Positions are column then row from 0, 0 at the top left. You'll need a terminal with blockwright-cli on the PATH, a POSIX sh and awk for the ridges, and python3 for the meteors.
The sky
-
Download start.bwp and open it (File > Open, Ctrl+O):
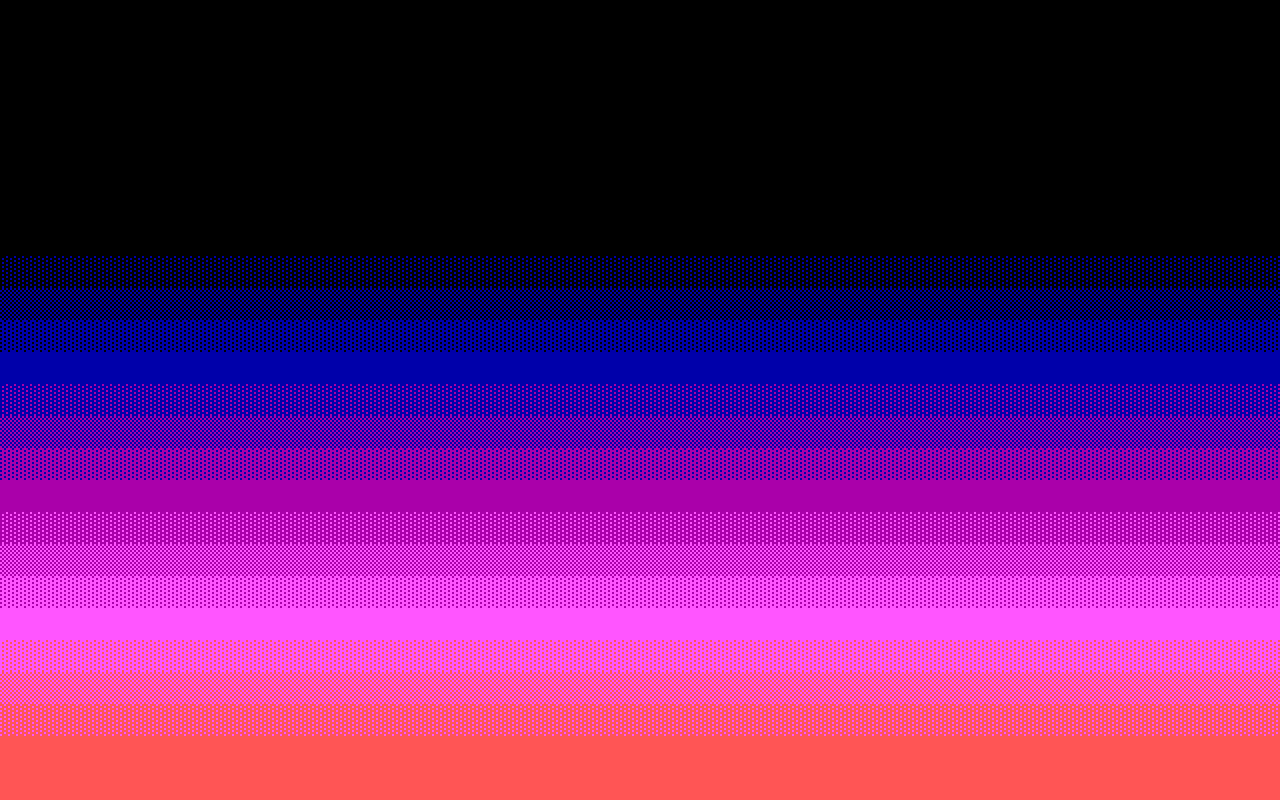
It is one Cells layer, sky: black over a ladder up the sunset ramp, ░▒▓ between each colour and the next. Rows 0 to 7 each end in a black-on-black
█at column 79, so IRC keeps the black rows (tutorial 11). Close it again: the next step rewrites the file.
A generator from a sample
-
Get the ridges generator. Open Ridges at dusk from the start screen's Samples list or Help > Samples. Save it with File > Save As Project Directory... (no shortcut) as a directory called
ridges-at-dusk. Its ridges generator isridges-at-dusk/scripts/3:generator.json,ridges.shandridges.awk. Close the sample. -
Add it. Put
start.bwpbesideridges-at-dusk, rename itnight.bwp, and in a terminal in that directory run:$ blockwright-cli add-generator --name ridges night.bwp ridges-at-dusk/scripts/3 layer 2 (ridges): 80x25add-generatorcopies the directory into the project asscripts/2, adds a Generator layer called ridges on top, runs the program once with the values in the folder'sparams.json, and saves. Layer 2 is the new layer's id, and its size is the canvas's. -
Open it. Open
night.bwp: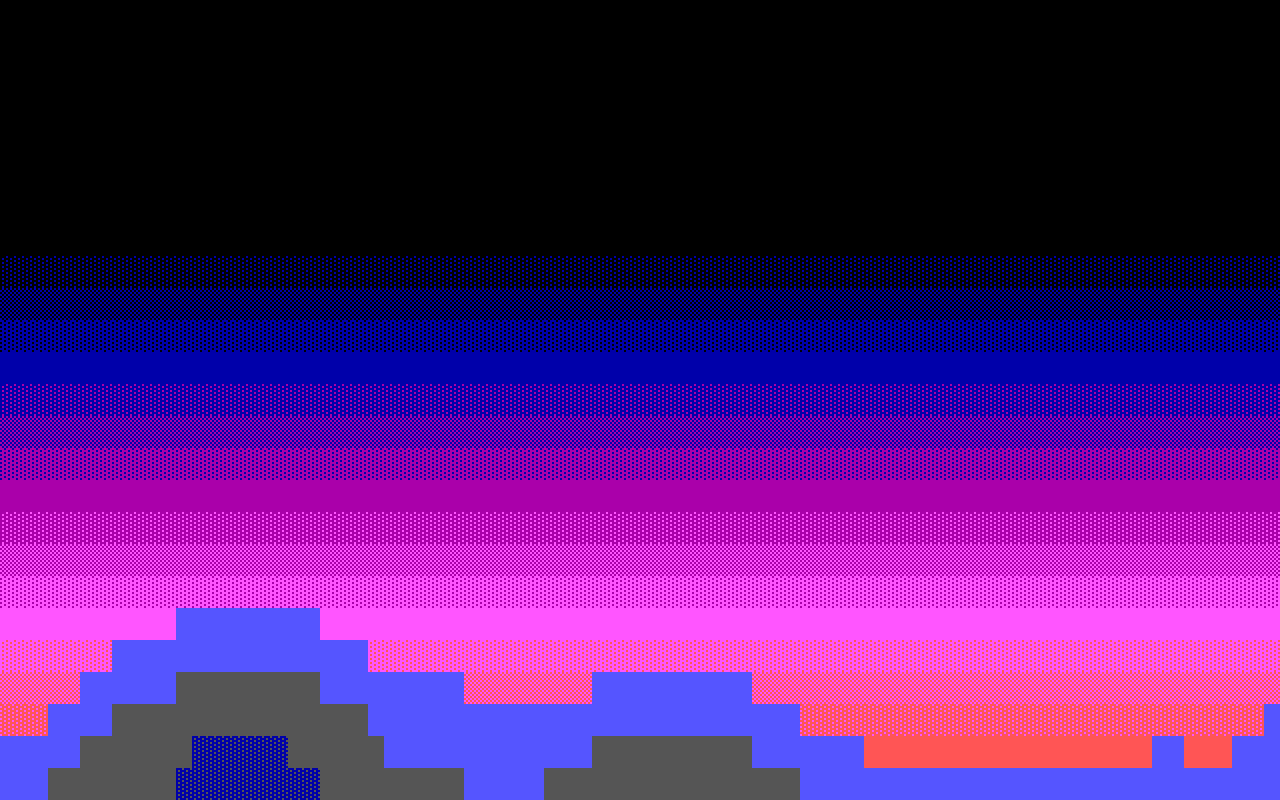
These cells are the ones
add-generatordrew: opening runs nothing.
The form
-
Select the ridges layer in the Layers dock. Its form appears under the layer buttons:
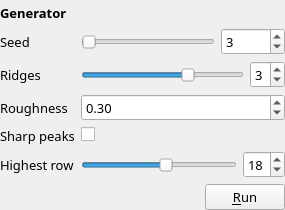
Each field's tooltip names the parameter and its type, such as
top (integer). A field commits when you let go of it: a slider released, a box stepped, a value typed and ended with Enter. Each commit is one undo step, and the generator runs 300 ms after the last one. -
Raise the peaks. Set Highest row to 13. The first time, Blockwright asks in the Run Generators dialog whether to run the project's generators, and shows the command,
sh ridges.sh. Press Yes: the answer holds for this project until Blockwright closes. The status bar says Running generator..., then Ran generator ridges: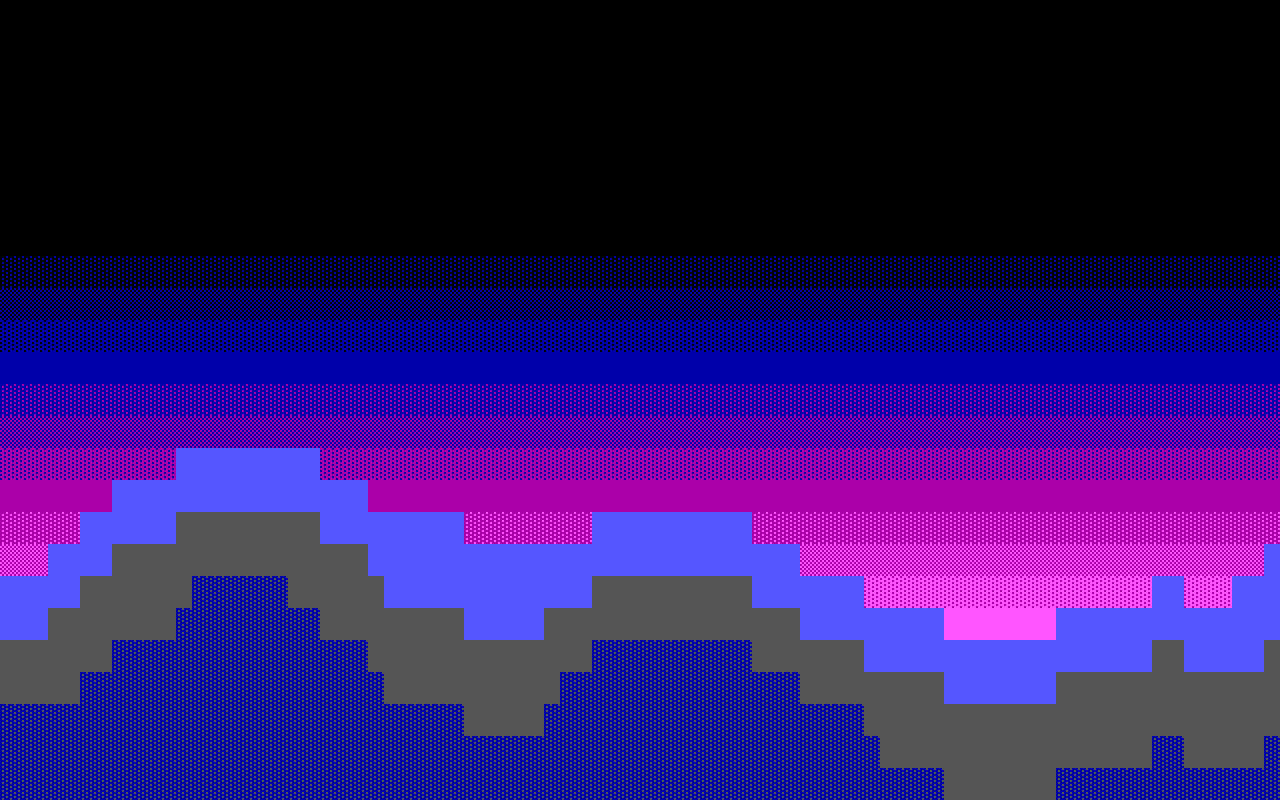
No peak rises above row 13. At 12, once the peaks are sharp in step 8, the far ridge reaches row 12, right under the solid blue of row 11, and the lint flags it as a rung-skip: rung 4 next to rung 8.
-
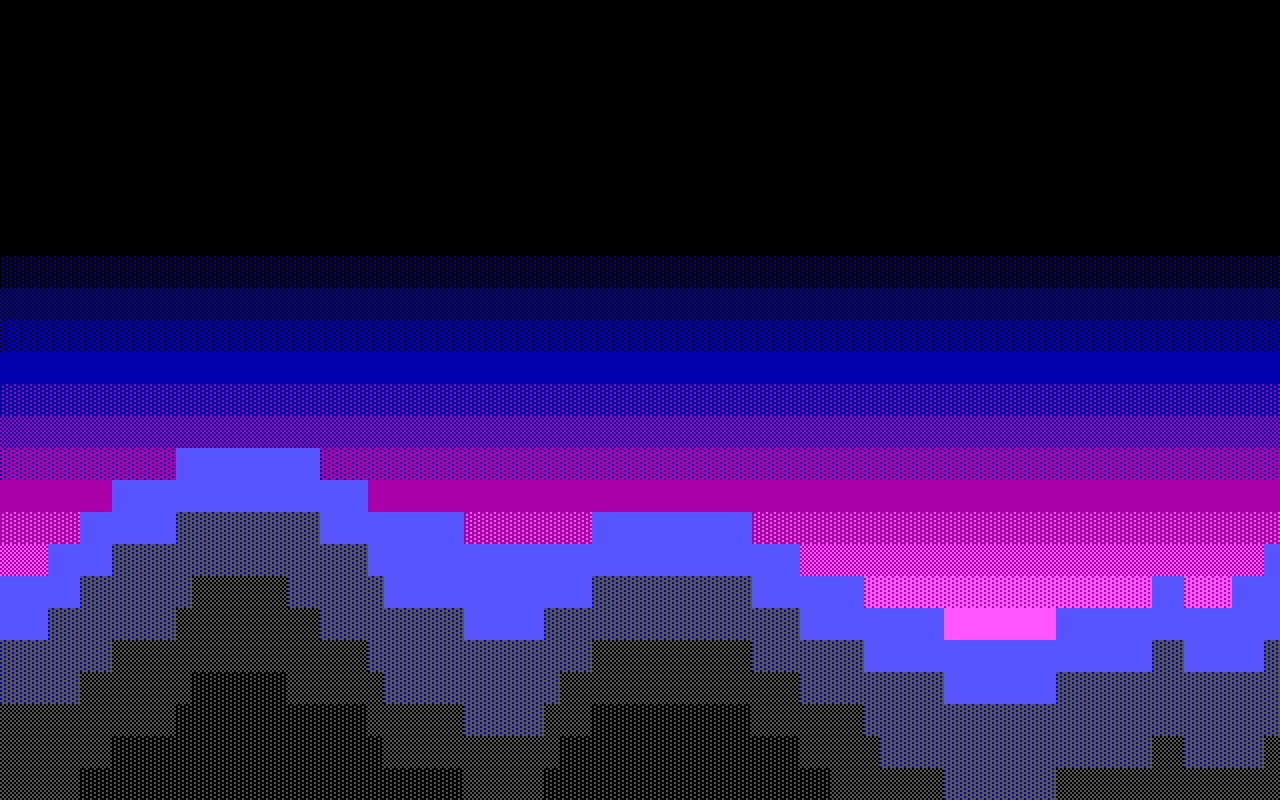
One more ridge. Set Ridges to 4:
-
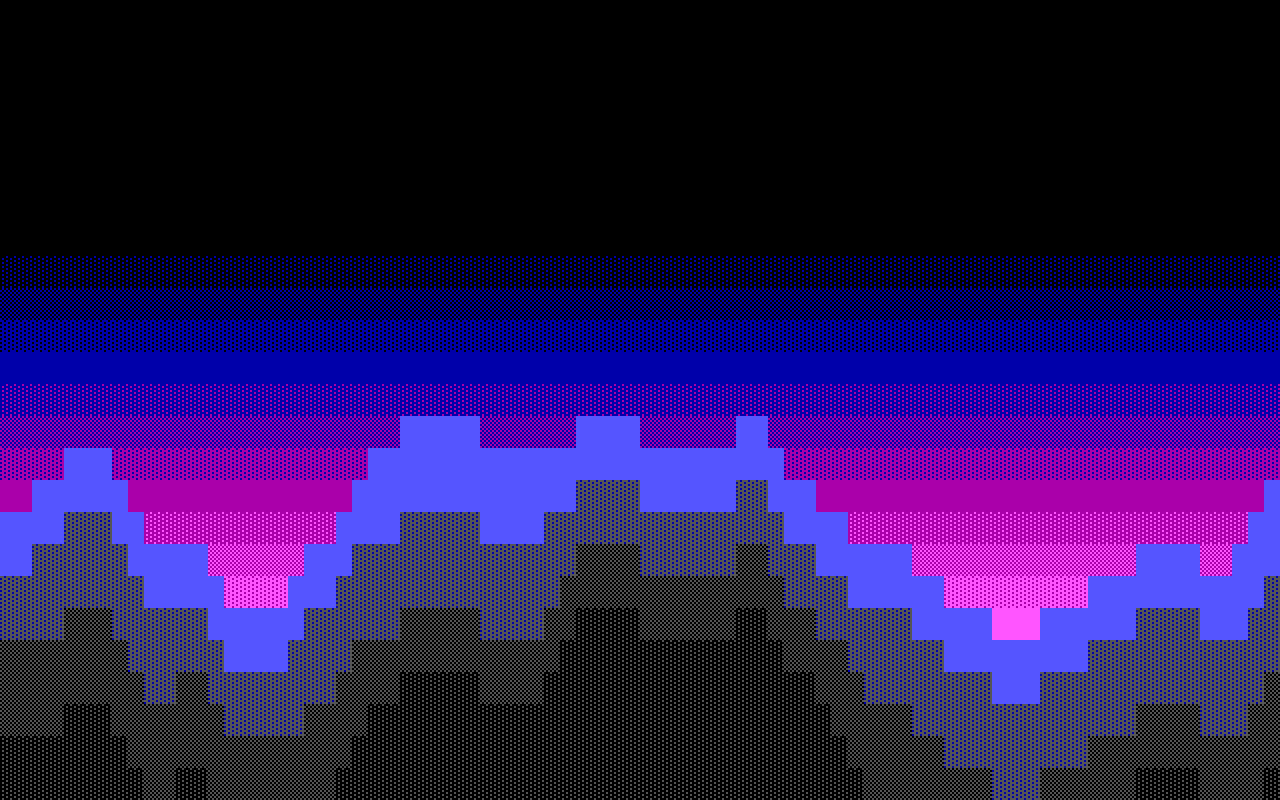
Sharp peaks. Tick Sharp peaks. The same noise folds into points:
-
Reseed. Set Seed to 41, then to 2026. Each seed is another range of mountains, and setting it back to 41 brings back the same one:
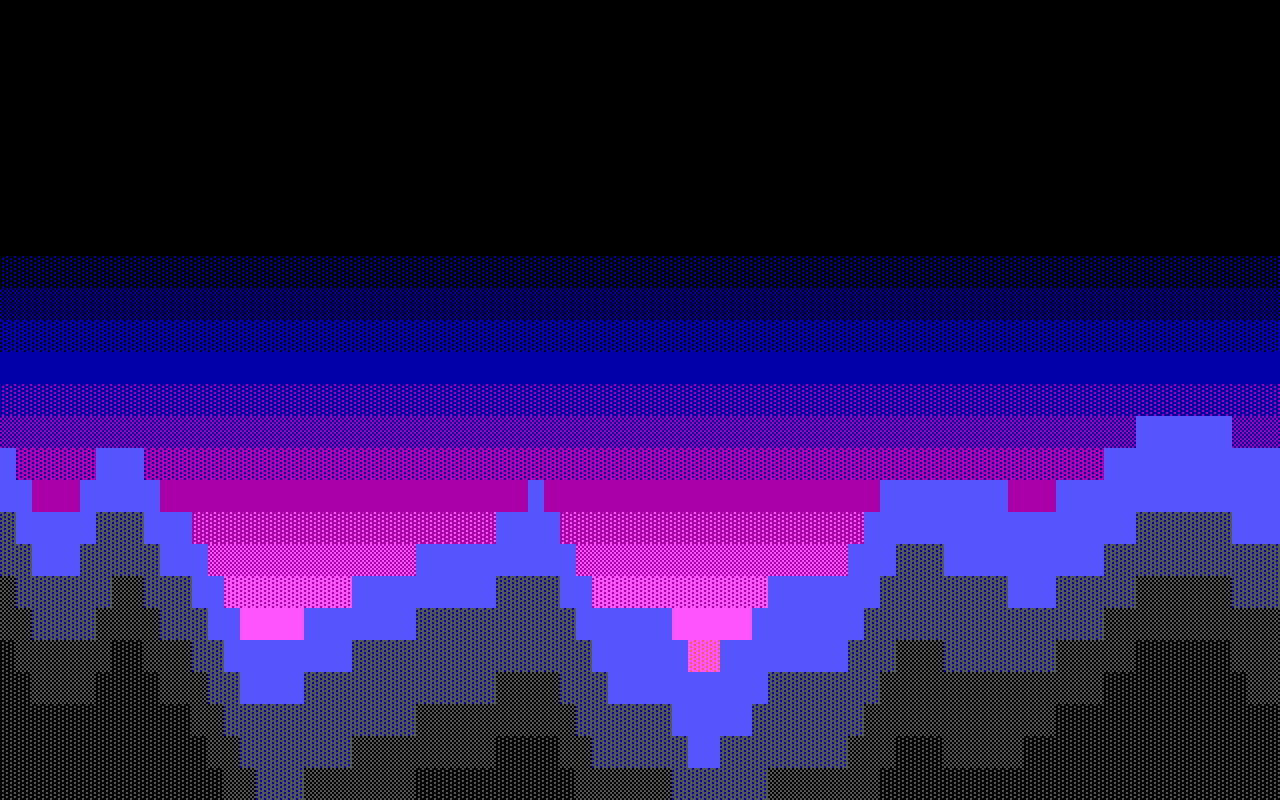
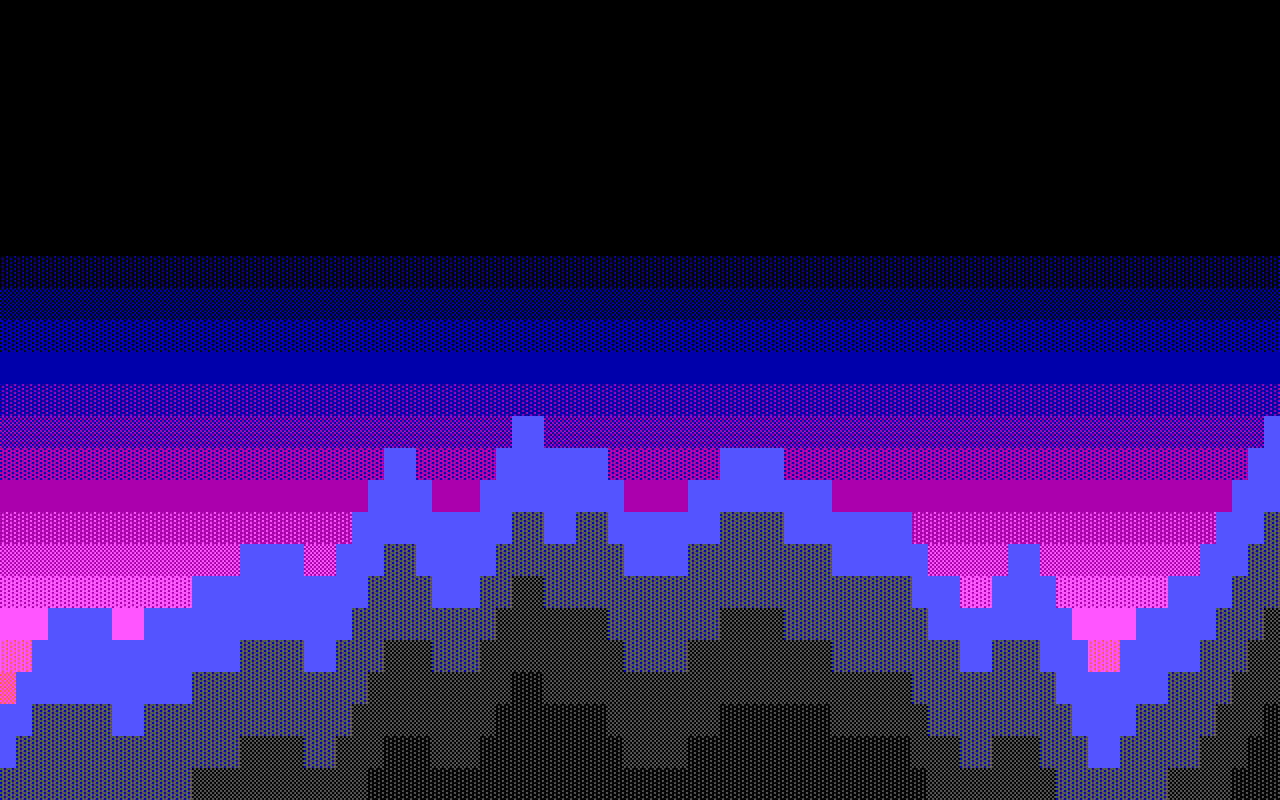
Keep 2026. Edit > Undo (Ctrl+Z) steps back through the parameters and their cells together, without running anything.
Bake the ridges
A Generator layer's cells change whenever its form does. Layer > Bake Layer (no shortcut) would turn the ridges layer itself into a Cells layer of these cells and drop its program and form. To keep the ridges as plain cells and the generator too, copy them onto a Cells layer:
- With the ridges layer active, Selection > Select All (Ctrl+A), which takes the Select tool in hand, then Edit > Copy (Ctrl+C).
- Layer > New Cells Layer (no shortcut) adds an empty Cells layer above ridges. Double-click its name in the Layers dock and call it
ridges (baked). - Click cell
0, 0, inside the selection, which moves the cell cursor there. Edit > Paste (Ctrl+V) floats the copy with its top left corner at the cursor; press Enter to put it down. The paste mode can stay Normal: the generator's transparent cells paste as transparent. -
Untick the box beside ridges to hide it. The picture doesn't change; the cells you see are the baked copy:
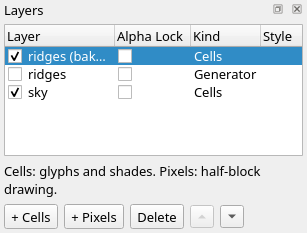
The hidden ridges layer keeps its program and form, so you can come back to it. The baked one is yours to paint on. When you don't need the program any more, Bake Layer with ridges active does it in one step: the layer keeps its name and becomes a Cells layer of what it shows, and Edit > Undo (Ctrl+Z), which reads Undo Bake Generator, brings the generator back.
A generator of your own
-
Write it. Make a directory called
meteorsbesidenight.bwp, and in it two files. generator.json:json { "command": ["python3", "meteors.py"], "key": 0, "params": [ {"name": "seed", "type": "integer", "label": "Seed", "min": 0, "max": 9999, "default": 1}, {"name": "count", "type": "integer", "label": "Meteors", "min": 0, "max": 8, "default": 3}, {"name": "length", "type": "integer", "label": "Length", "min": 2, "max": 10, "default": 5}, {"name": "bottom", "type": "integer", "label": "Lowest row", "min": 0, "max": 24, "default": 7}, {"name": "colour", "type": "colour", "label": "Tail", "default": 11} ] }"key": 0makes every blank cell on black transparent, so only the meteors cover the sky. And meteors.py:```python
Meteors falling down to the left: a white * head, then a tail of / up to
the right, the first half in the Tail colour and the rest dark grey dots.
Every other cell is a black space, which the key colour makes transparent.
import json import sys
job = json.loads(sys.stdin.readline()) w, h = job["layer"]["width"], job["layer"]["height"] p = job["params"] state = p["seed"]
def below(n): """A whole number from 0 to n - 1, from the seed: the same every run.""" global state state = (state * 1664525 + 1013904223) % 232 return state * n // 232
cells = {} placed = 0 bottom = min(p["bottom"], h - 1) for _ in range(1000): if placed == p["count"]: break x, y = below(w), below(bottom + 1) trail = [(x + i, y - i) for i in range(p["length"])] if any(not (0 <= cx < w and 0 <= cy) for cx, cy in trail): continue if any((cx + dx, cy + dy) in cells for cx, cy in trail for dx in (-1, 0, 1) for dy in (-1, 0, 1)): continue for i, cell in enumerate(trail): if i == 0: cells[cell] = ("*", 15) elif i <= p["length"] // 2: cells[cell] = ("/", p["colour"]) else: cells[cell] = ("\xfa", 8) placed += 1
SGR = [30, 34, 32, 36, 31, 35, 33, 37] # the PC's colour order to ANSI's out = sys.stdout.buffer for y in range(h): for x in range(w): glyph, fg = cells.get((x, y), (" ", 7)) bold = "1;" if fg > 7 else "" out.write(f"\x1b[0;{bold}{SGR[fg % 8]};40m".encode() + glyph.encode("latin-1")) out.write(b"\x1b[0m\r\n") ```
The script draws its random numbers from a small generator of its own seeded with Seed, never from Python's
randomor the clock, so a seed always gives the same meteors. It picks a head, lays a trail up to the right, and throws the meteor away if the trail would leave the canvas or touch another one. Every cell it writes is on black (40): the meteors, and the spaces between them, which the key makes transparent.\xfais CP437's small dot, written as the byte 0xFA; the output is read as CP437. -
Add it. Close
night.bwp(save it first), then:$ blockwright-cli add-generator night.bwp meteors layer 4 (meteors): 80x25Without
--namethe layer takes the directory's name. Opennight.bwpagain: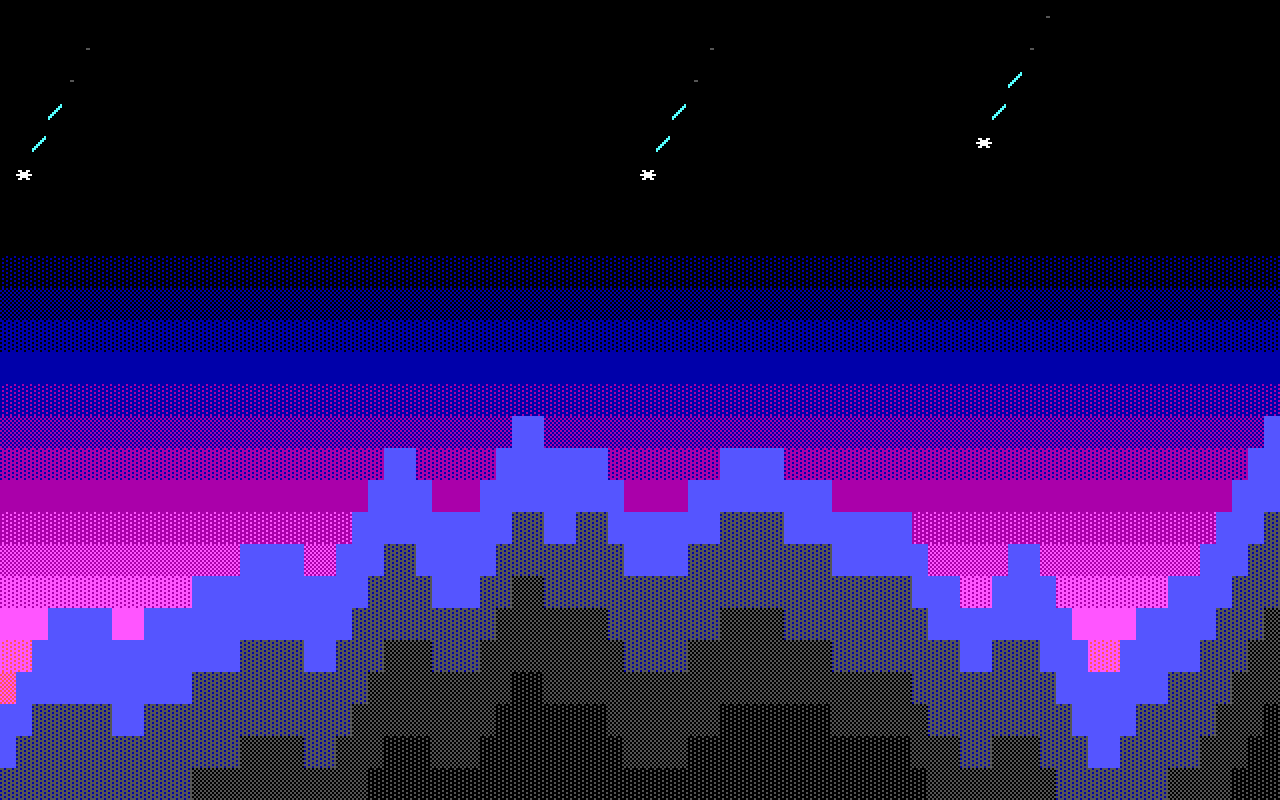
-
Its form. Select meteors. Your parameters are the form, in the order
generator.jsonlists them: integers with a minimum and a maximum get a slider and a box, and the colour a list of the 16 colours: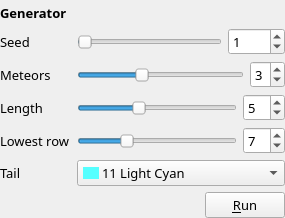
-
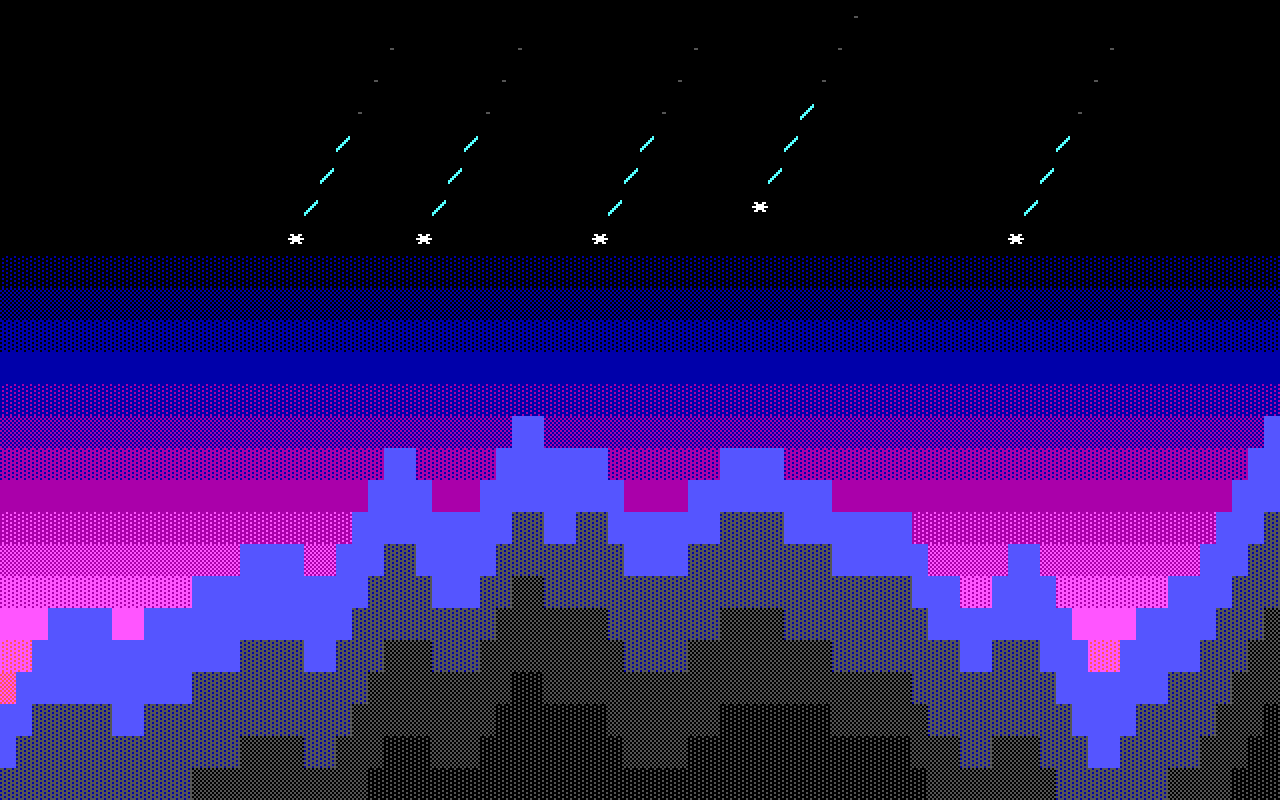
Set it. Set Meteors to 5 and Length to 7. Each change runs your program again (if Blockwright has been closed since you said yes, Run Generators asks first):
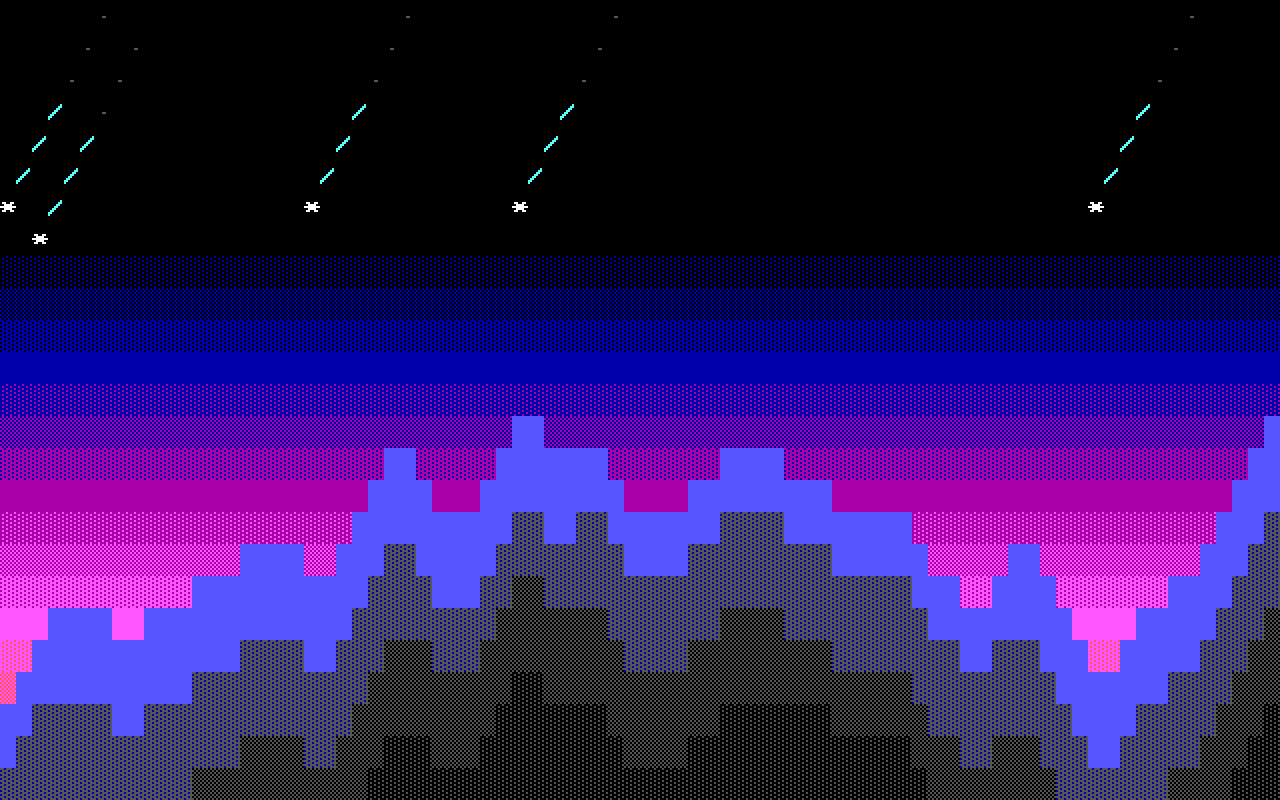
Then Seed 17:
Save.
From the terminal
The rest of the piece needs no window. Close night.bwp first: each of these commands that writes the project rewrites the file.
-
A moon from a steps file.
replayplays a JSON file of editor actions on a copy and writes a file after each step. moon.steps.json starts fromnight.bwp, adds a Pixels layer calledmoon, which lands just above sky, and draws two filled ellipses on it: a white disc and a black one over it, a pixel up and two columns right, leaving a crescent:json { "version": 1, "start": {"file": "night.bwp"}, "steps": [ {"name": "moon", "action": "newPixelLayer", "rename": "moon"}, {"name": "disc", "action": "ellipse", "from": [50, 3], "to": [57, 10], "fg": 15, "filled": true}, {"name": "shadow", "action": "ellipse", "from": [52, 2], "to": [59, 9], "fg": 0, "filled": true} ] }Pixel positions are a column and a pixel row, two to a cell row. Play it, keeping each step as a project:
$ blockwright-cli replay moon.steps.json -o moon --projectIt prints nothing and writes
moon/01-moon.bwp,02-disc.bwpand03-shadow.bwp, with an.ansof each beside it. The last is the finished piece, the picture at the top of this page;night.bwpitself is untouched. Copymoon/03-shadow.bwpovernight.bwp. The moon's layer is under the meteors, so a tail that crosses it would pass in front. -
What's in it.
infolists the layers, top first, and the files the project carries:$ blockwright-cli info night.bwp file: night.bwp project: zip size: 80x25 ice: on encoding: CP437 target: ansi irc budget: 407 bytes (efnet-weechat) layers: 5 (next id 6) 4 generator 80x25 at 0,0 normal visible yes, locked no, alpha locked no meteors 3 cells 80x25 at 0,0 normal visible yes, locked no, alpha locked no ridges (baked) 2 generator 80x25 at 0,0 normal visible no, locked no, alpha locked no ridges 5 pixels 80x25 at 0,0 normal visible yes, locked no, alpha locked no moon 1 cells 80x25 at 0,0 normal visible yes, locked no, alpha locked no sky notes: 0 bytes snapshots: 0 files: 7 scripts/2/generator.json 542 bytes scripts/2/params.json 94 bytes scripts/2/ridges.awk 6166 bytes scripts/2/ridges.sh 185 bytes scripts/4/generator.json 536 bytes scripts/4/meteors.py 1575 bytes scripts/4/params.json 87 bytes sauce: noneEach generator's
params.jsonholds the form as you left it. -
A picture, a check and an IRC export.
renderdraws a PNG, here at 2×, and prints nothing when it works:$ blockwright-cli render --scale 2 night.bwp night.pnglintchecks the composite:$ blockwright-cli lint night.bwp clean, noise 0.0042, iCE onexport --ircwrites the IRC text and measures each line against the budget (tutorial 11):$ blockwright-cli export --irc night.bwp night.txt line bytes sent 1 90 91 2 98 100 3 100 102 4 102 104 5 99 101 6 99 101 7 90 93 8 85 87 9 244 246 10 244 246 11 244 246 12 85 87 13 244 246 14 252 255 15 247 257 16 114 118 17 235 244 18 261 274 19 255 268 20 225 232 21 280 294 22 244 252 23 270 276 24 289 297 25 260 264 25 lines, longest 289 bytes, 297 sent, budget 407: 0 overThe ridge rows cost most, up to 289 bytes, because their colours change along the row. A sky shade row is 80 glyphs of 3 bytes in one pair of colours, 244 bytes; line 12, row 11, is solid blue: 85 bytes.
-
Run the visible generators from the terminal.
run-generatorsruns a project's visible generators again, without asking, and saves. It runs what is in eachscripts/<id>/params.json, so to change a parameter, change that file. A.bwpis a zip;unpackopens it into a directory, andpackputs it back:$ blockwright-cli unpack night.bwp nightSet
"seed": 5innight/scripts/4/params.json, then:$ blockwright-cli run-generators night layer 2 (ridges): hidden, not run layer 4 (meteors): 80x25 1 generator run $ blockwright-cli pack night night-5.bwp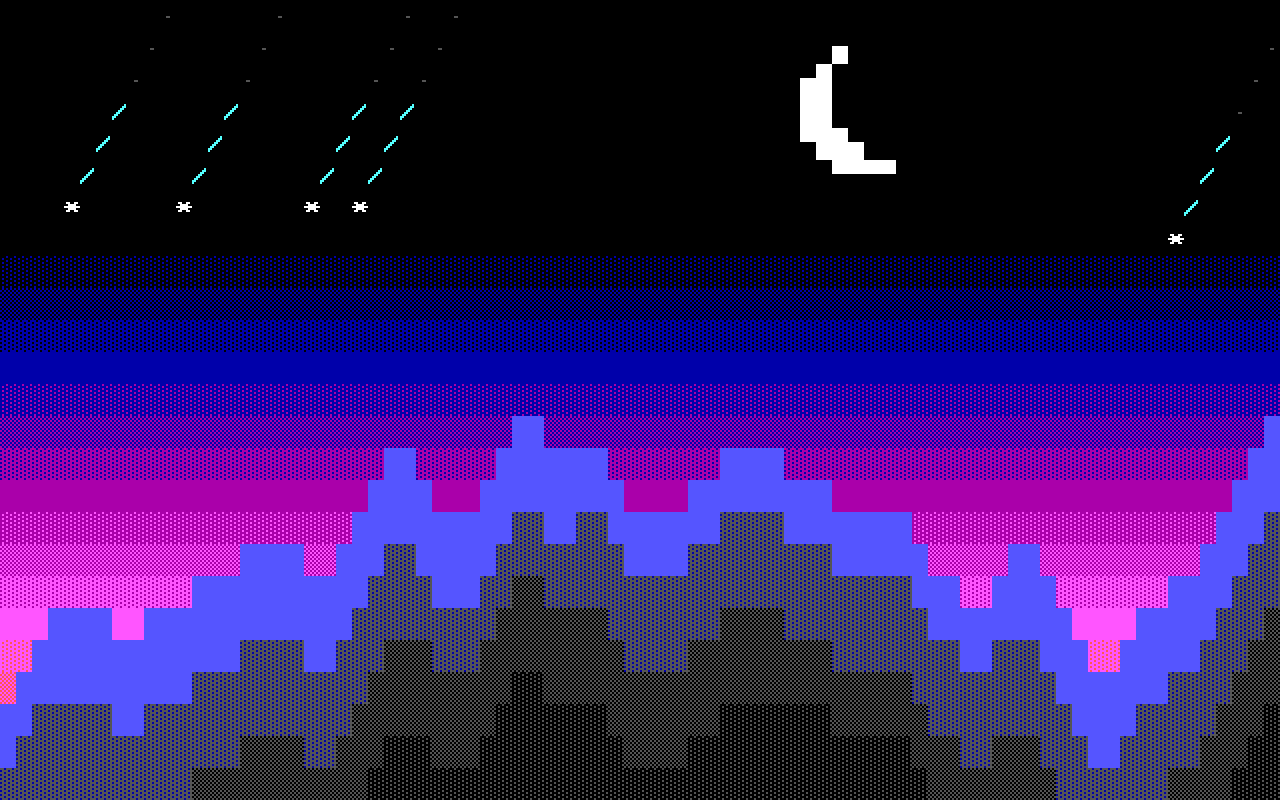
It left the hidden ridges layer alone and said so: a hidden layer shows nothing, so running it would change nothing you see, and its program would still run with your rights. To run a hidden generator, name it:
--layer 2runs the ridges, hidden or not, and--layer 4runs the meteors alone.--layerruns only the layers it names; give it more than once for several. A command that runs generators doesn't ask first: run it only on projects you trust.
Check it
A meteor below the black rows. Set Lowest row to 20:
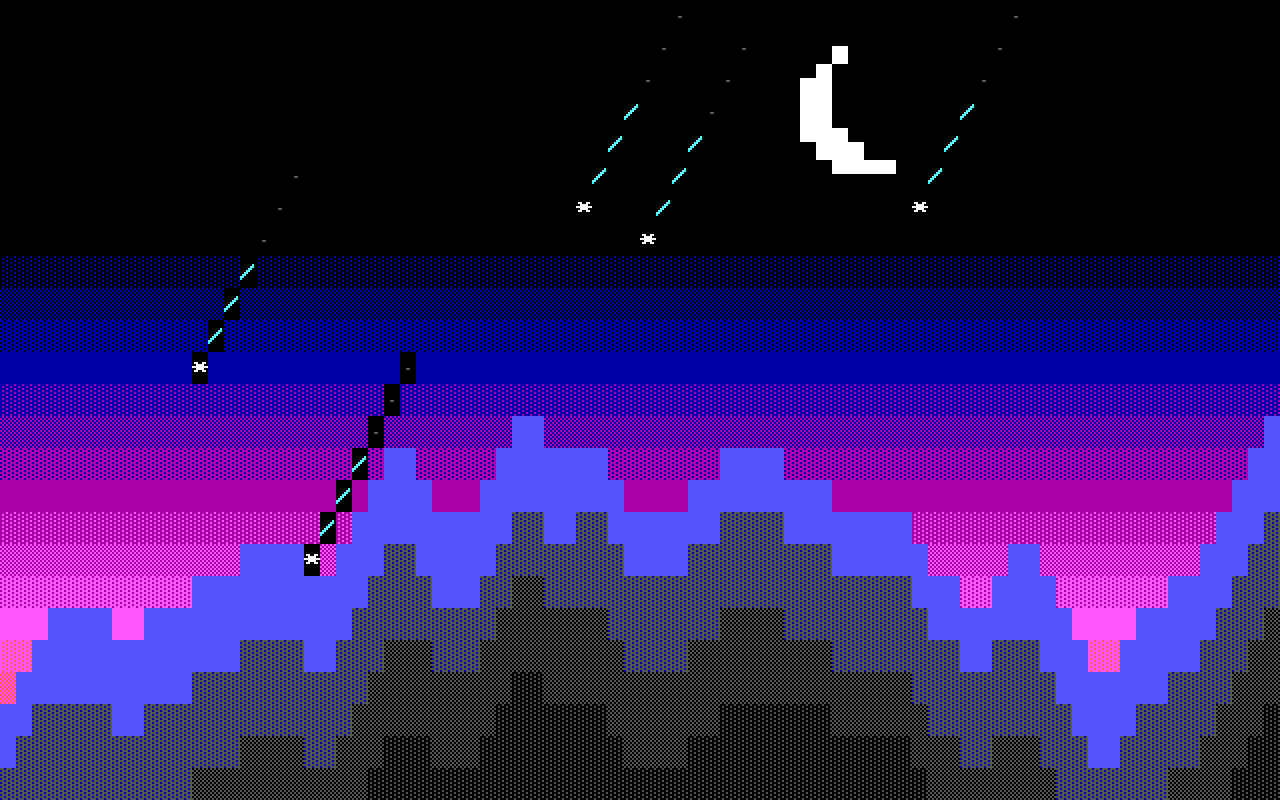
The script writes every cell on a black background, so a meteor over the coloured sky or the ridges cuts a black box out of them. The key colour only makes blank cells transparent, not the background behind a glyph. Keep Lowest row at 7 for this sky; to fall into the colours, the script would have to know what is under it, and a generator sees only its own layer.
A program that fails. Rename p["colour"] to p["color"] in meteors.py, a typo the parameter doesn't share, and add it again:
$ blockwright-cli add-generator night.bwp meteors
blockwright-cli: night.bwp: layer 6 (meteors): python3 exited with status 1:
Traceback (most recent call last):
  File "./meteors.py", line 36, in <module>
    cells[cell] = ("/", p["color"])
                        ~^^^^^^^^^
KeyError: 'color'
The command exits with status 1 and writes nothing: night.bwp is as it was. The error ends with what the program wrote to its standard error, here Python's traceback. In the window the same fault shows in the status bar, Generator meteors failed; the layer keeps its cells: and the reason, and the layer keeps what it had (Running).
Painting on a Generator layer. Select meteors and paint with any brush: nothing changes. Paint on ridges (baked) instead, or on a new layer.
The baked layer doesn't follow the form. Show ridges again and set its Seed to 41: the generator's ridges change, but ridges (baked) over it still shows seed 2026, and covers them wherever it has cells. To keep the new ones, delete ridges (baked) and copy the ridges again (steps 10 to 13); or, done with the form, delete it and bake ridges itself with Bake Layer.
Try it
Download try.bwp and open it (File > Open, Ctrl+O):
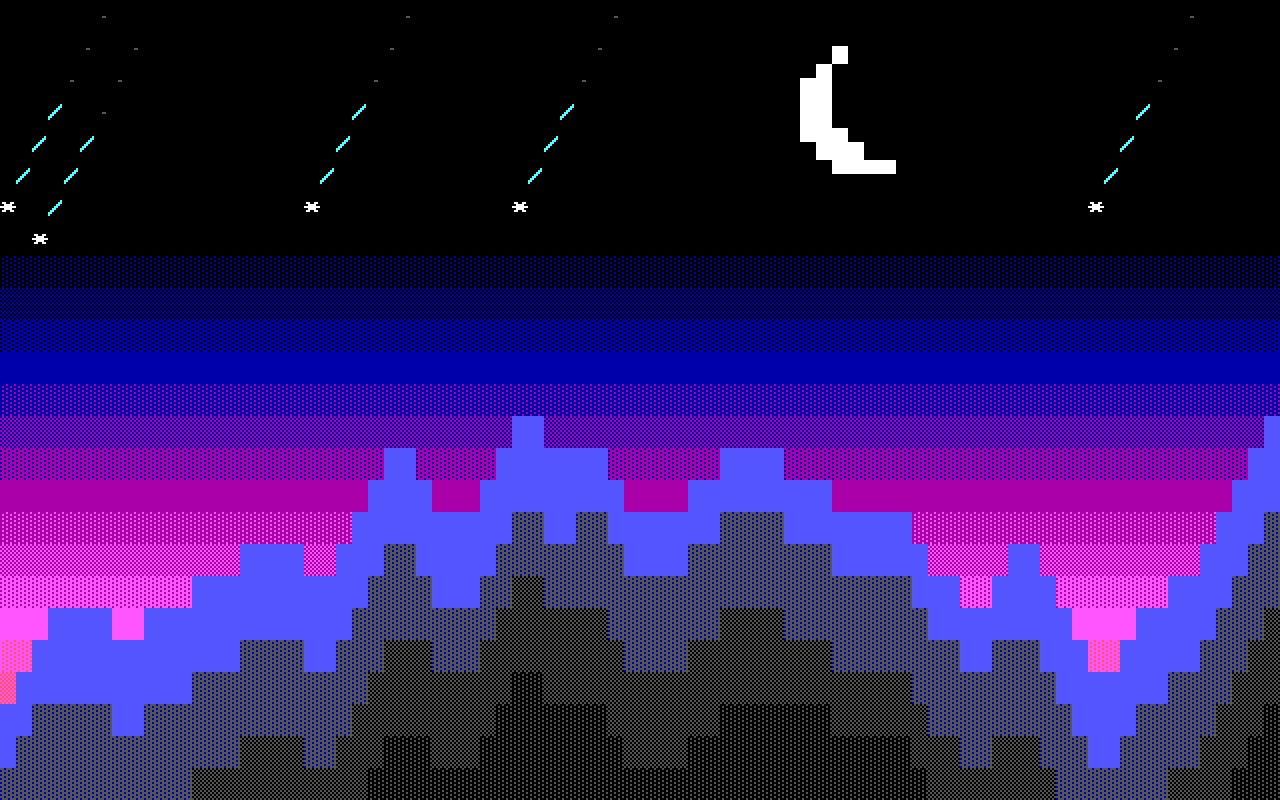
It is the finished piece, with both generators in it. Its ridges generator is under the GNU GPL, version 3 or later, and its meteors generator under CC BY-SA 4.0, as in the finished piece above.
- Give the meteors tails in the glow's colour, light red, and make them shorter, 4 cells.
- Make the meteors fall down to the right instead, their tails up to the left in
\.
Answers
-
Select meteors; set Tail to 12 Light Red and Length to 4. The same seed, 17, now places the meteors elsewhere: the script draws each head's place from the seed in turn, and a shorter trail fits where a longer one was thrown away:
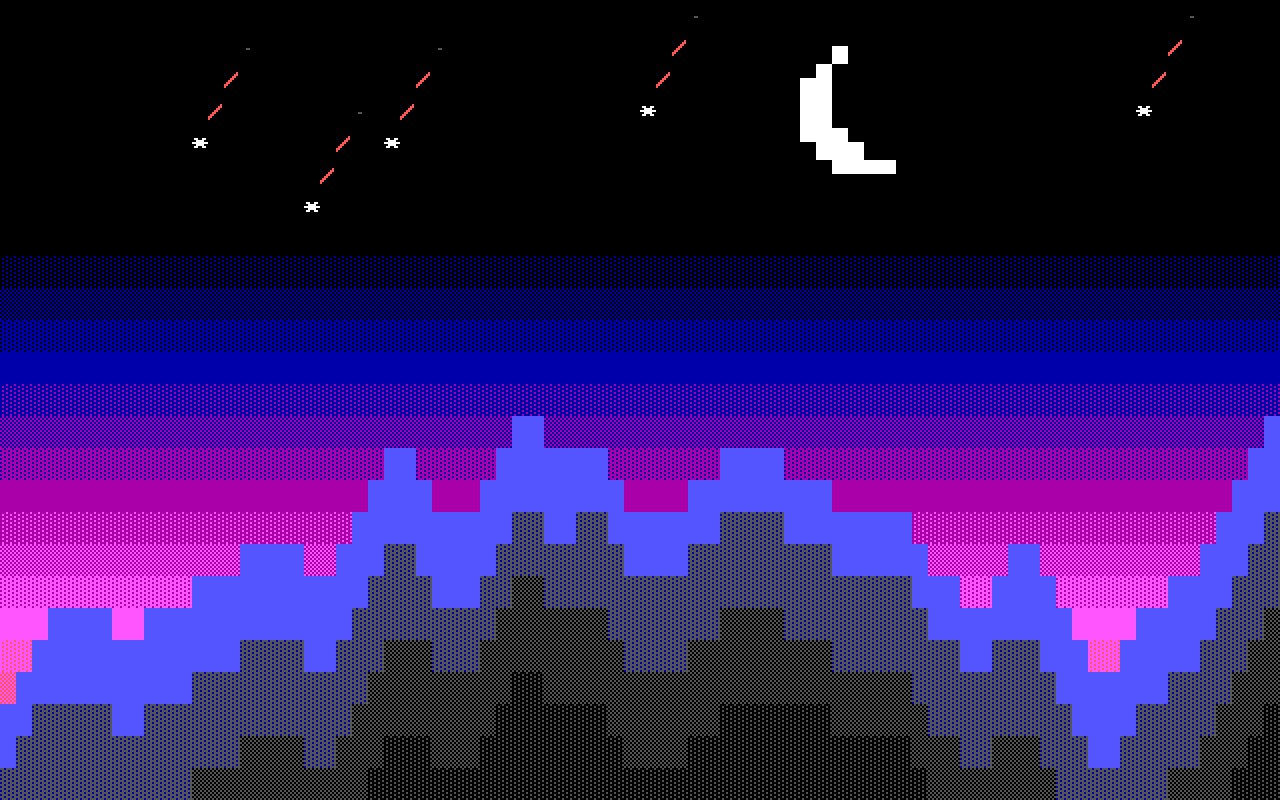
It is try-tail.bwp.
-
That is a change to the program, not the form. The program is in the project,
scripts/4/meteors.py. Unpack it, edit it, run it and pack it:$ blockwright-cli unpack try.bwp tryIn
try/scripts/4/meteors.py, lay the trail up to the left,(x - i, y - i)for(x + i, y - i), and draw it with a backslash,("\\", p["colour"])for("/", p["colour"]). Then:$ blockwright-cli run-generators --layer 4 try layer 4 (meteors): 80x25 1 generator run $ blockwright-cli pack try try-right.bwp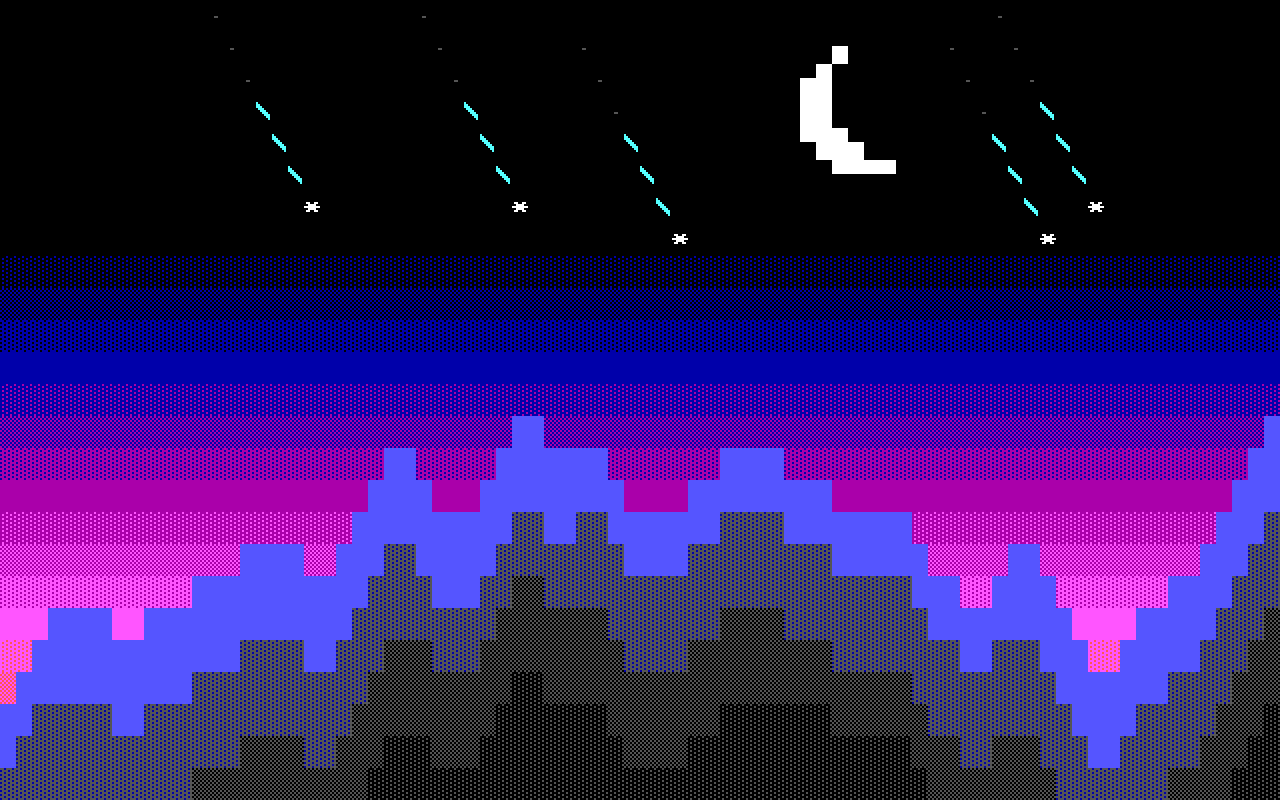
It is try-right.bwp. The edited script travels with the project: anyone who opens it and runs the meteors gets the right-falling ones.
The manual has the rest: Generator layers and scripts for the form, running and writing a generator, and blockwright-cli for every command.
Describes Blockwright 0.1.0 (12ee9ef).